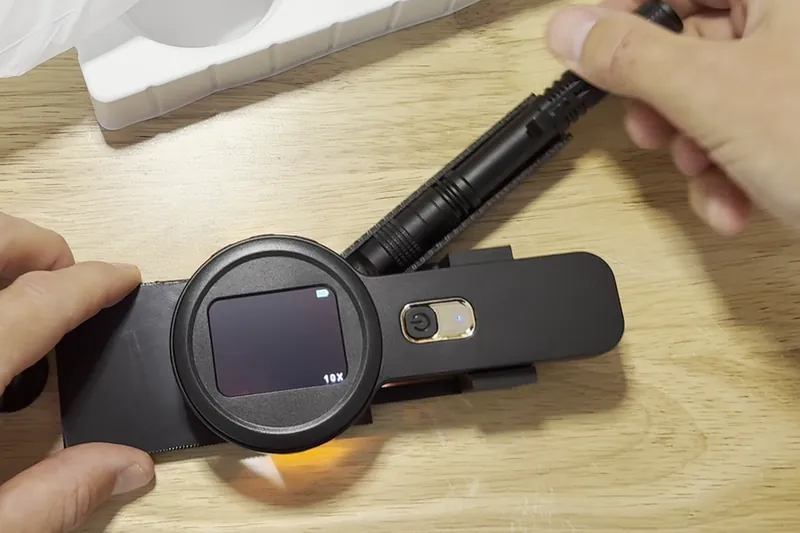
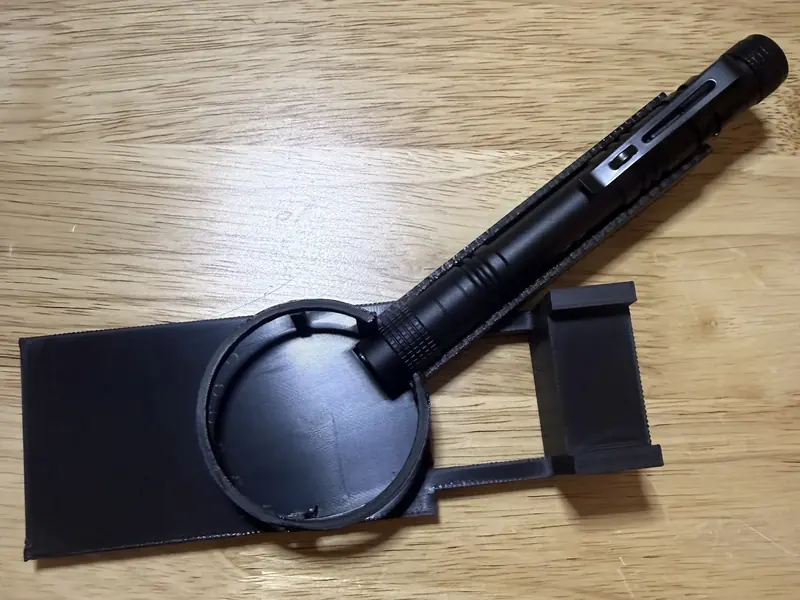
Slide the flashlight down the angled channel, head first, until it seats against the round housing. The channel sets the angle, so there's nothing to aim.
Low batteries make a real sample read as clean, and the beam still looks fine when they're low. If it worked before and then stopped, swap them.
Step 2Set up the rig1 min
Put the microscope in the rig
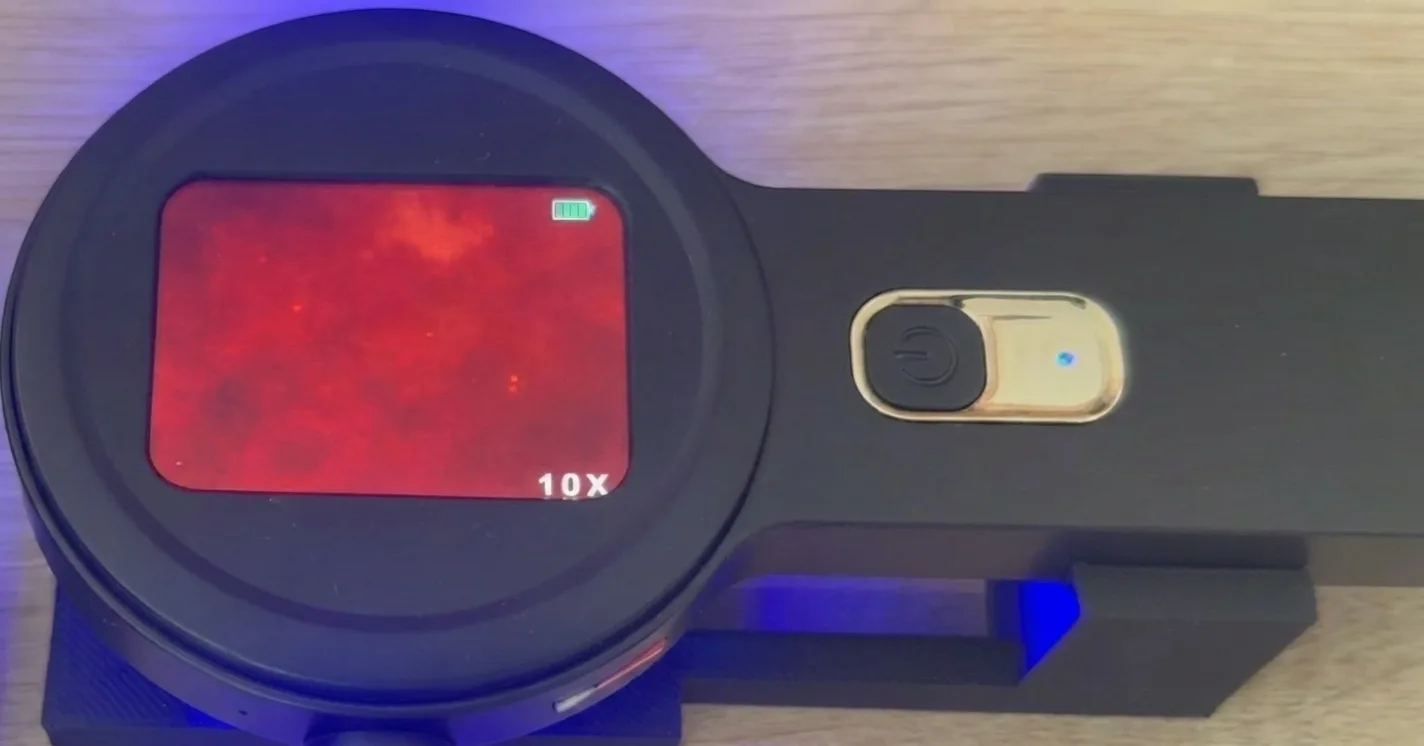
Unwrap the digital microscope and press the power button. Drop it into the round housing, screen up, so the lens looks down at the light. Leave the wand aside until you have a filter to read.
Step 1Test the water1 min
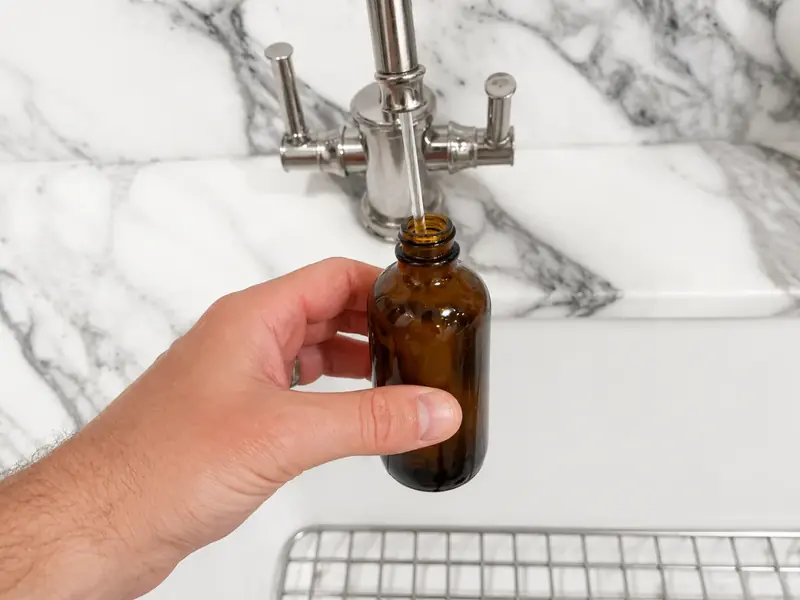
Collect 100 mL of water
Fill the jar almost to the top with the water you're testing. It holds about 100 mL (3.5 oz). Leave room for the 1 mL vial you add next. Results are reported per 100 mL, so use the full jar.
Step 2Test the water15–20 min wait
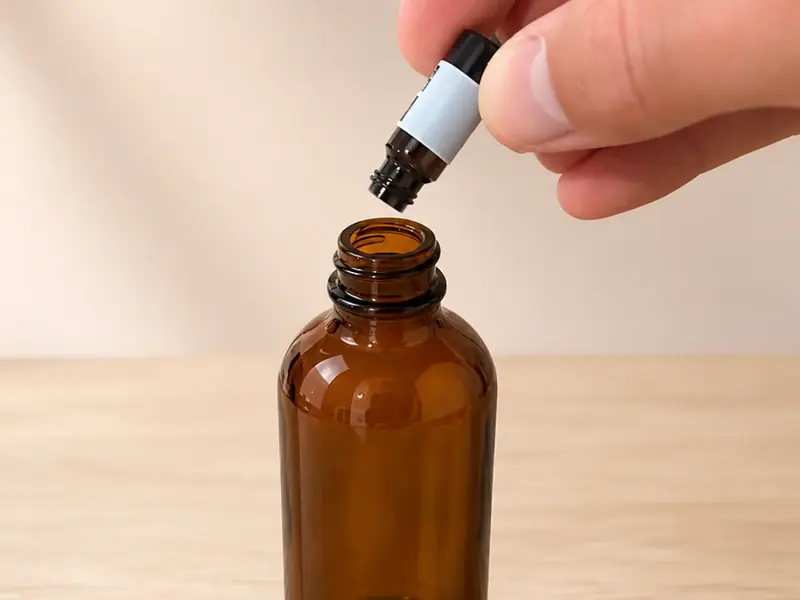
Add the vial and wait
Add the vial, swirl gently, and wait 15–20 minutes. Longer is better; the dye needs time to bind.
Cover the jar while you wait. Dust from the air lands in an open jar and gets counted.
Step 3Test the water1 min
Put the filter in the holder
Open the holder, drop the filter in, twist it shut
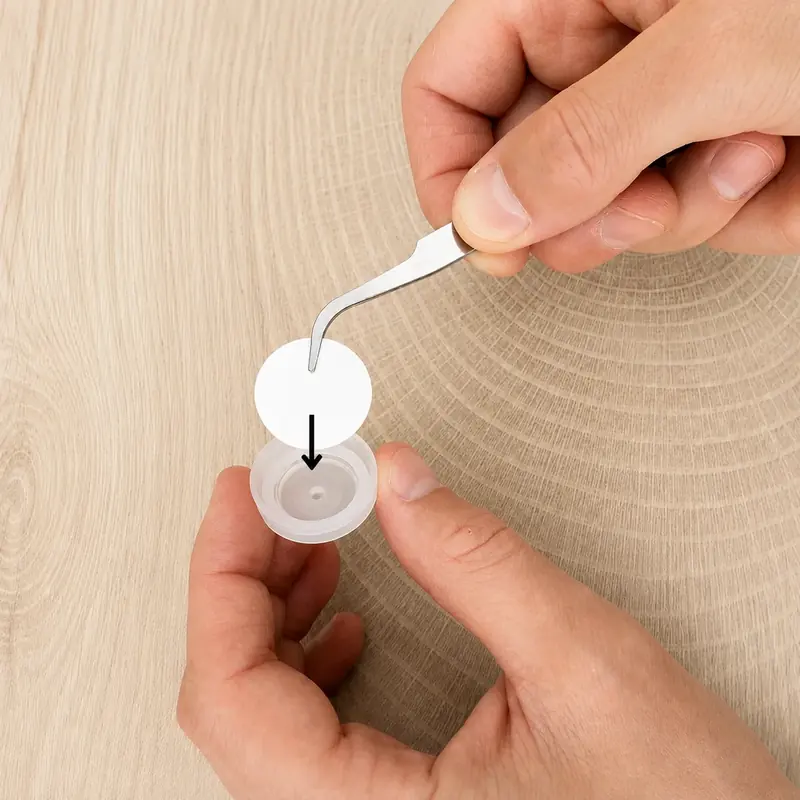
Unscrew the holder, set the round filter membrane inside, and screw it back together.
Step 4Test the water1 min
Attach the holder to the syringe
Twist the holder onto the syringe tip until snug
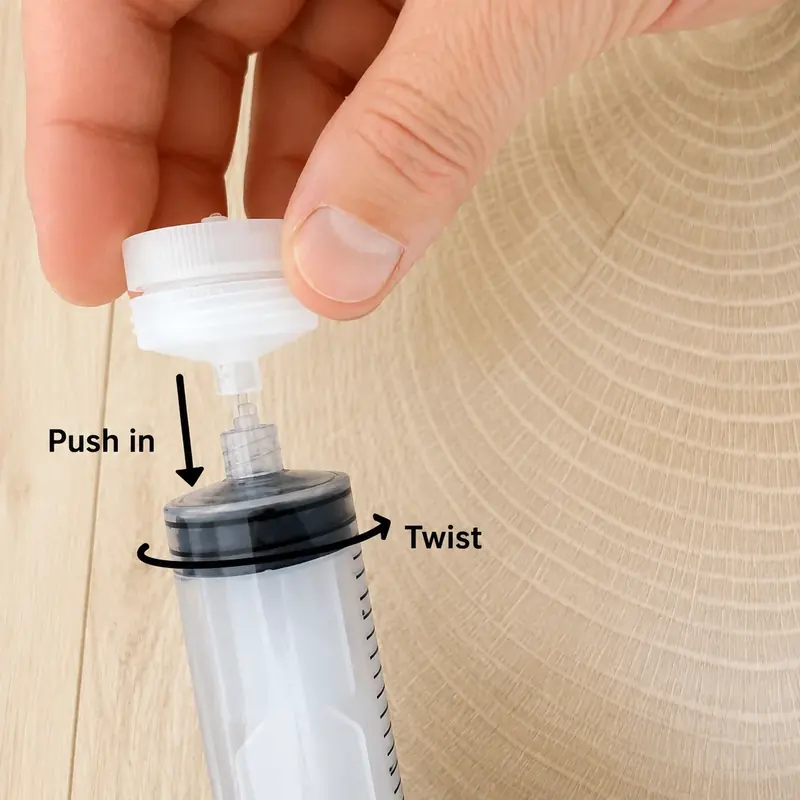
Twist the assembled filter holder onto the syringe tip until it's snug.
Step 5Test the water1 min
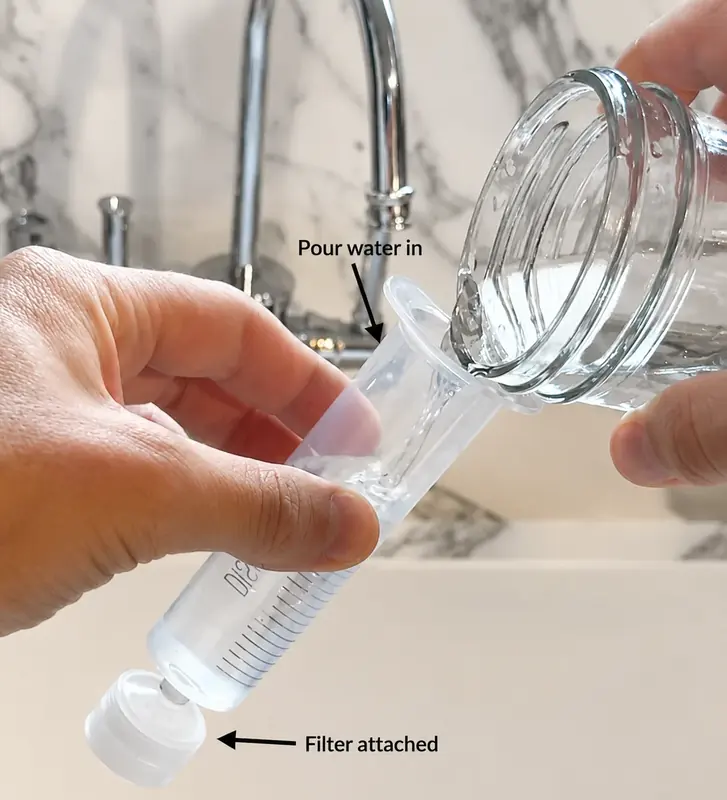
Fill the syringe
Pour the prepared water into the top of the syringe.
How many times to fill it
If you have a 60 mL syringe, fill and push it roughly twice. If you have a 100 mL syringe, fill and push it once. Either way, keep going until the jar is empty so the full 100 mL sample passes through the same filter.
Unscrew the filter holder before you pull the plunger back for the second fill. Pulling against the filter can damage it.
Step 6Test the waterRight away
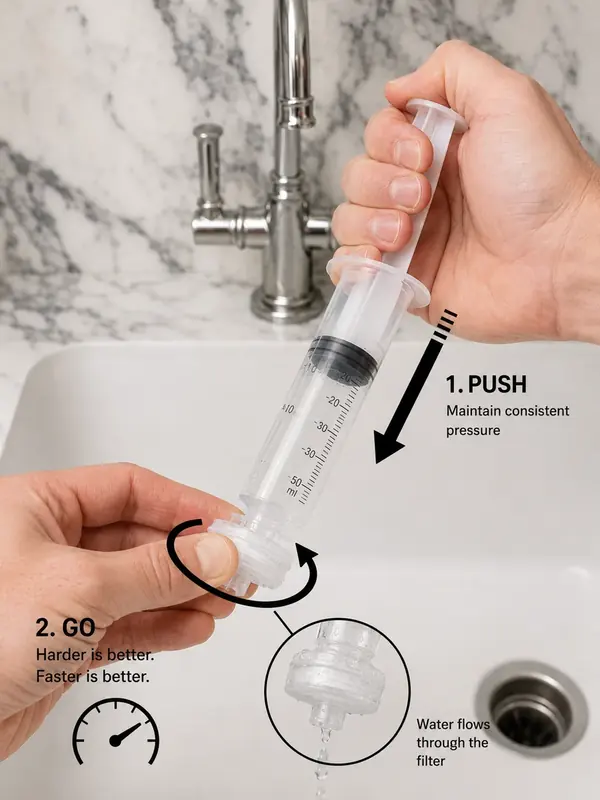
Push the water through
Push the water through right away; don't let it sit.
Step 7Test the water1 min
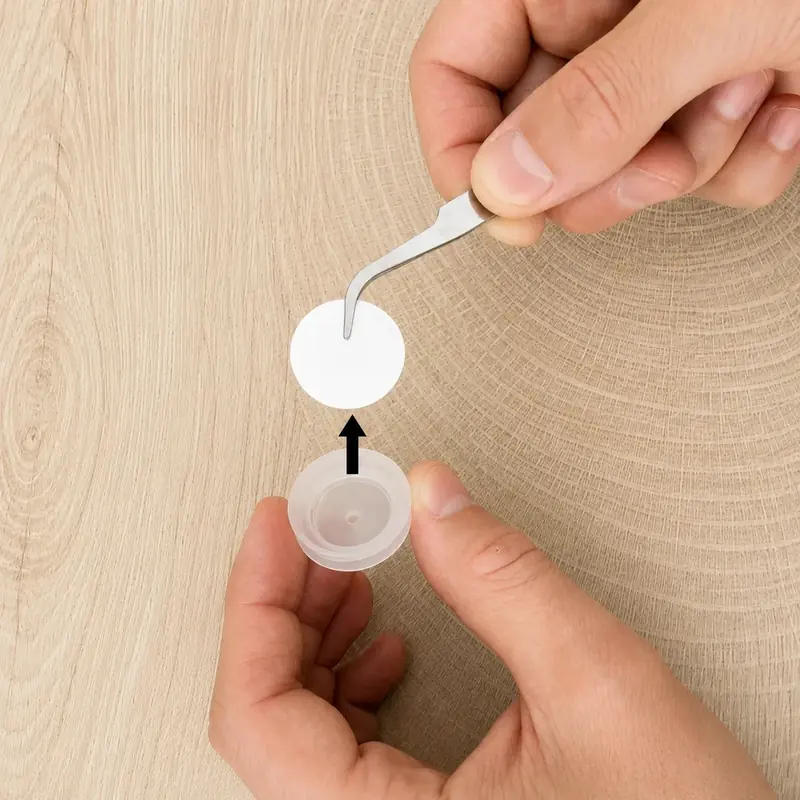
Retrieve the filter
Unscrew the holder and take out the filter. Keep the side that faced the water pointing up. That's the side you read.
Step 1Assemble the microscope and find the particles1 min
Put the filter on the wand
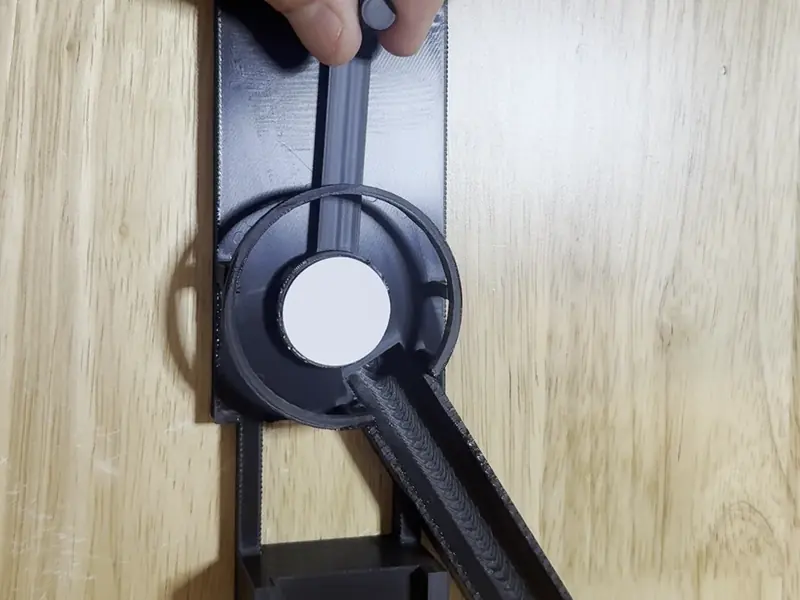
With the tweezers, lay the filter flat on the wand, collection side up. Slide the wand into the rig until the filter sits under the microscope and over the light. A curled disc throws shadows that read as empty filter, so get it flat.
Dab the filter with a paper towel until slightly damp. Damp lies flat; bone-dry curls.
Step 2Assemble the microscope and find the particles2–5 min
Move the wand to search the filter
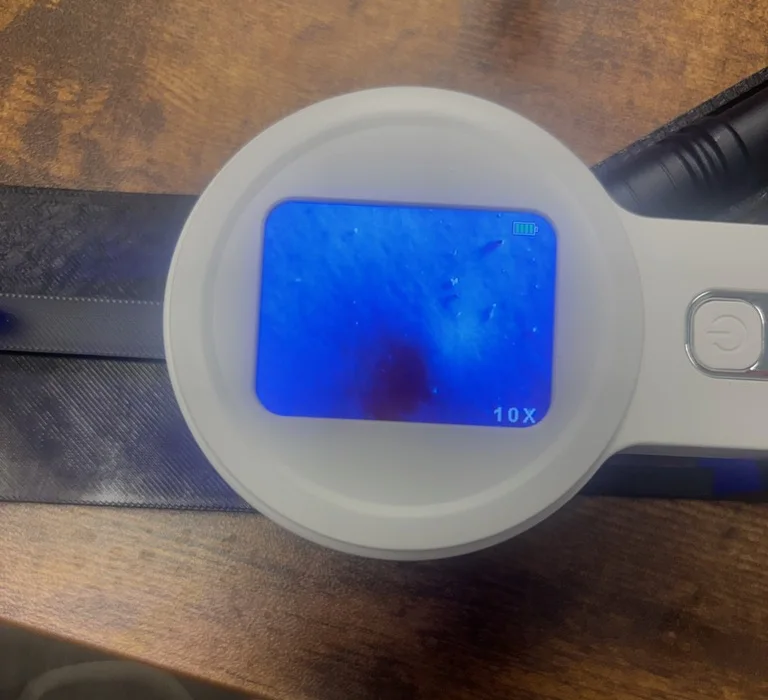
Move the wand around under the microscope to hunt for microplastic particles
Switch on the microscope. The lens sees a small patch at a time and the particles are scattered, so move the wand in and out and side to side until you have covered the whole disc. Go slow and overlap your passes.
Step 3Assemble the microscope and find the particles2 min
Count the glowing dots
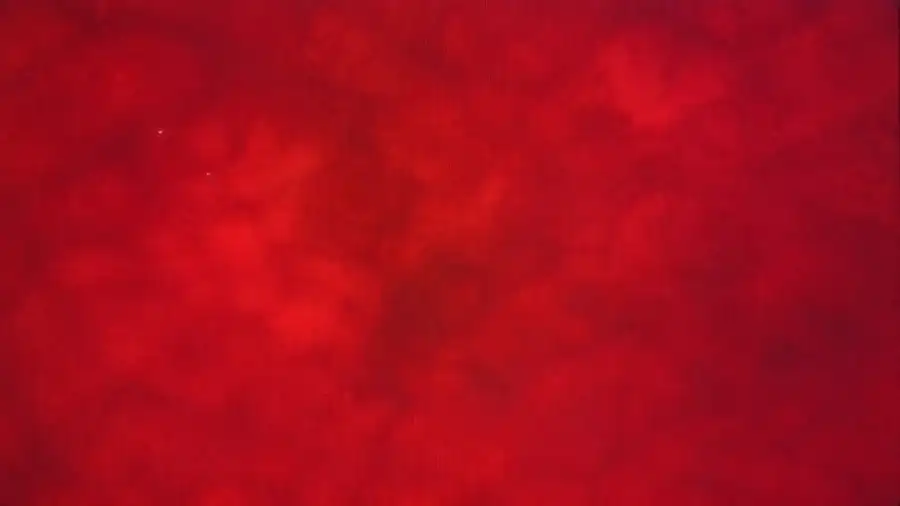
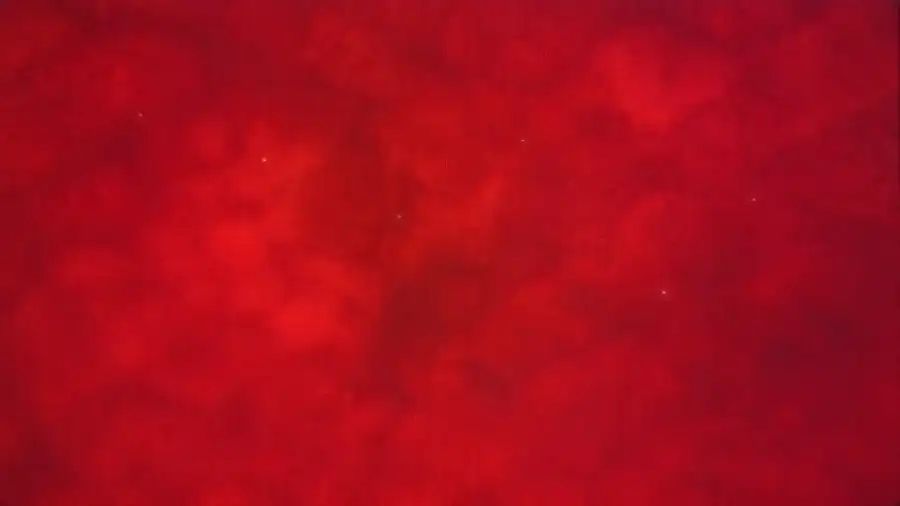
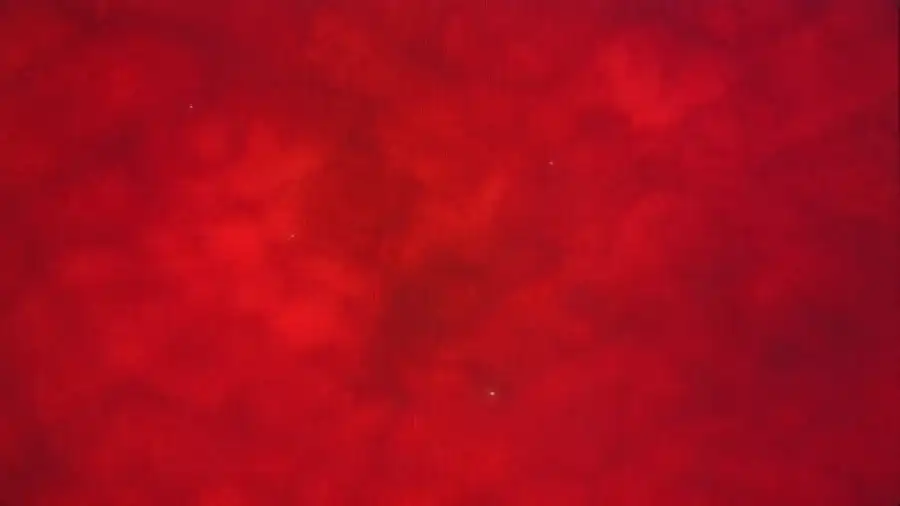
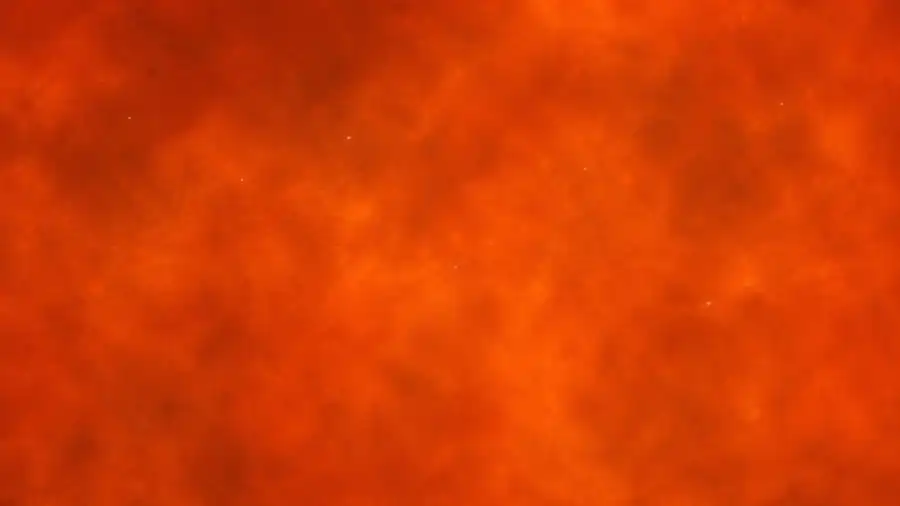
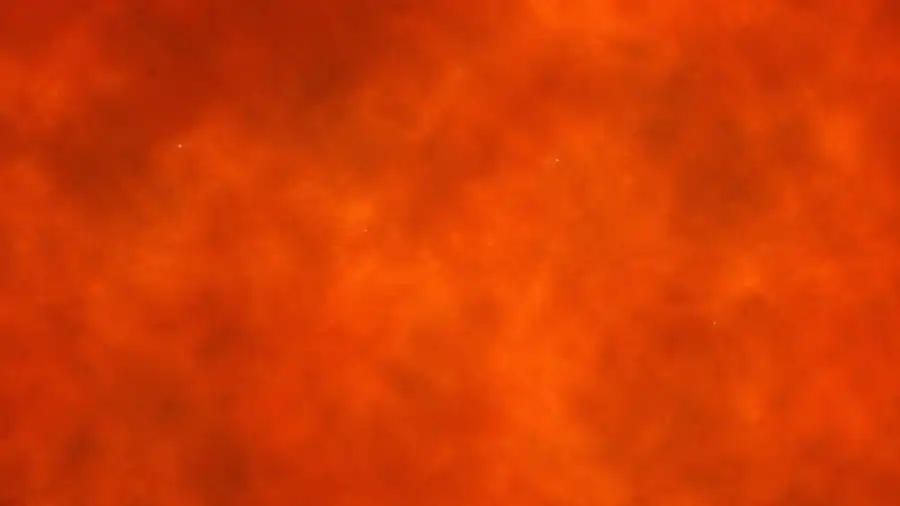
Each faint glowing dot or short fiber is a suspected microplastic. Count them as you go. The color varies with the lens and the light — more red or less red is fine. Compare against the examples below.
0–2No microplastics indicated
3–6Microplastics detected
7+Relatively high quantity of microplastics
Your count is a floor. The membrane is 1 µm, so anything smaller passes straight through, and some of what lands is too small to resolve. For every particle you can see, there are more you can't.
One sample at a time. Most of the 30 minutes is waiting after you add the vial.
Three parts. Tap one to open it.
Set up the digital microscope and lighting
1.Slide the flashlight into the rig
1 min
Slide the flashlight down the angled channel, head first, until it seats against the round housing. The channel sets the angle, so there's nothing to aim.
Low batteries make a real sample read as clean, and the beam still looks fine when they're low. If it worked before and then stopped, swap them.
Down the channel until it seats
2.Put the microscope in the rig
1 min
Unwrap the digital microscope and press the power button. Drop it into the round housing, screen up, so the lens looks down at the light. Leave the wand aside until you have a filter to read.
1.Collect 100 mL of water
1 min
Fill the jar almost to the top with the water you're testing. It holds about 100 mL (3.5 oz). Leave room for the 1 mL vial you add next. Results are reported per 100 mL, so use the full jar.
2.Add the vial and wait
15–20 min wait
Add the vial, swirl gently, and wait 15–20 minutes. Longer is better; the dye needs time to bind.
Cover the jar while you wait. Dust from the air lands in an open jar and gets counted.
3.Put the filter in the holder
1 min
Unscrew the holder, set the round filter membrane inside, and screw it back together.
Open the holder, drop the filter in, twist it shut
4.Attach the holder to the syringe
1 min
Twist the assembled filter holder onto the syringe tip until it's snug.
Twist the holder onto the syringe tip until snug
5.Fill the syringe
1 min
Pour the prepared water into the top of the syringe.
How many times to fill it
If you have a 60 mL syringe, fill and push it roughly twice. If you have a 100 mL syringe, fill and push it once. Either way, keep going until the jar is empty so the full 100 mL sample passes through the same filter.
Unscrew the filter holder before you pull the plunger back for the second fill. Pulling against the filter can damage it.
6.Push the water through
Right away
Push the water through right away; don't let it sit.
7.Retrieve the filter
1 min
Unscrew the holder and take out the filter. Keep the side that faced the water pointing up. That's the side you read.
1.Put the filter on the wand
1 min
With the tweezers, lay the filter flat on the wand, collection side up. Slide the wand into the rig until the filter sits under the microscope and over the light. A curled disc throws shadows that read as empty filter, so get it flat.
Dab the filter with a paper towel until slightly damp. Damp lies flat; bone-dry curls.
2.Move the wand to search the filter
2–5 min
Switch on the microscope. The lens sees a small patch at a time and the particles are scattered, so move the wand in and out and side to side until you have covered the whole disc. Go slow and overlap your passes.
Move the wand around under the microscope to hunt for microplastic particles
3.Count the glowing dots
2 min
Each faint glowing dot or short fiber is a suspected microplastic. Count them as you go. The color varies with the lens and the light — more red or less red is fine. Compare against the examples below.
0–2No microplastics indicated
3–6Microplastics detected
7+Relatively high quantity of microplastics
Your count is a floor. The membrane is 1 µm, so anything smaller passes straight through, and some of what lands is too small to resolve. For every particle you can see, there are more you can't.
Two things to check
These details can make particles harder to see. If the screen looks unusual, check both before reading the result.
Keep the membrane very flat
If the 25 mm filter disc curls or buckles, the light can hit it unevenly and create darker areas. Handle it with the tweezers and try to keep it very flat while you read it.
Dab it with a paper towel until slightly damp. Damp makes the disc stick flat; bone-dry, it curls.
Check the flashlight batteries
The flashlight is fixed in place, so aiming isn't the problem — the batteries are. Below about 50–70% charge the blue light stops exciting the dye and nothing glows, even with plastic on the filter. You won't see it happen: a half-dead cell still throws a beam that looks bright. If the kit was finding particles and then stopped, put in fresh batteries before you trust a clean result.
Compare two sources
Have two tests? Run one on unfiltered tap water and one after your filter.
When you're done
Wash the jar thoroughly. Don't drink from it.
What a suspected microplastic can look like
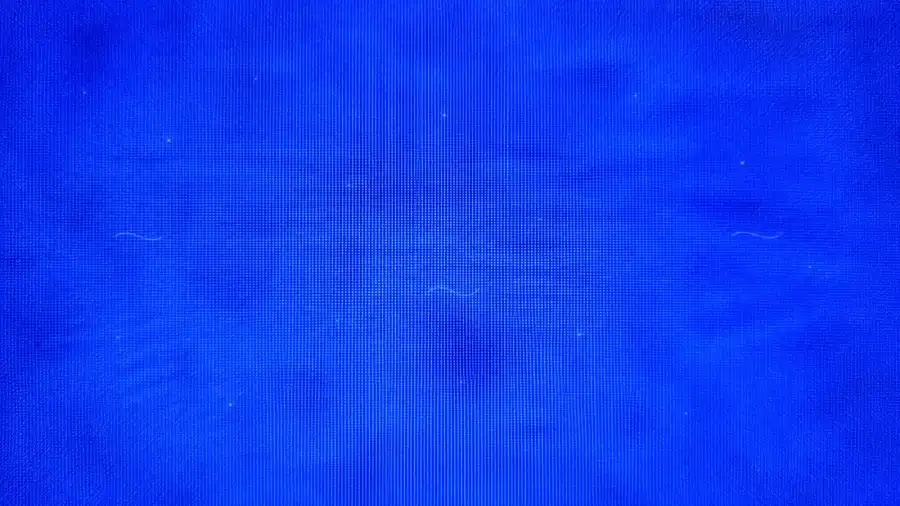
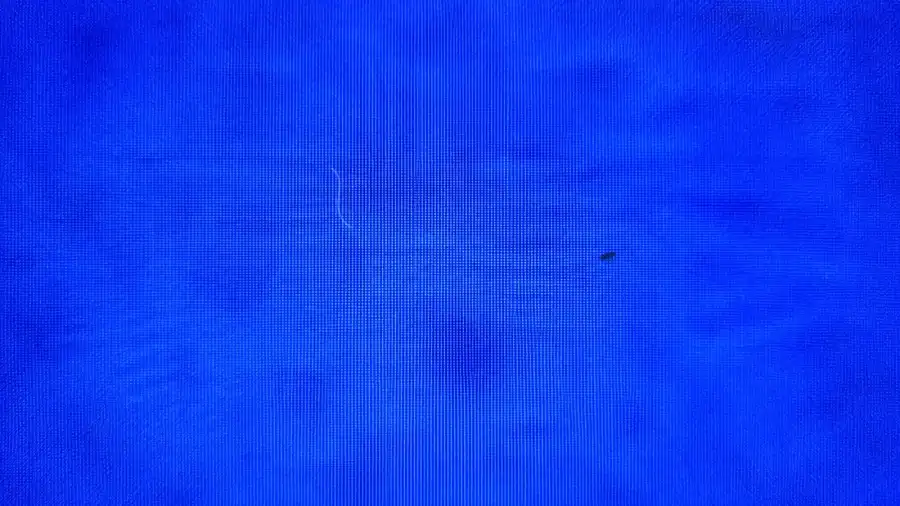
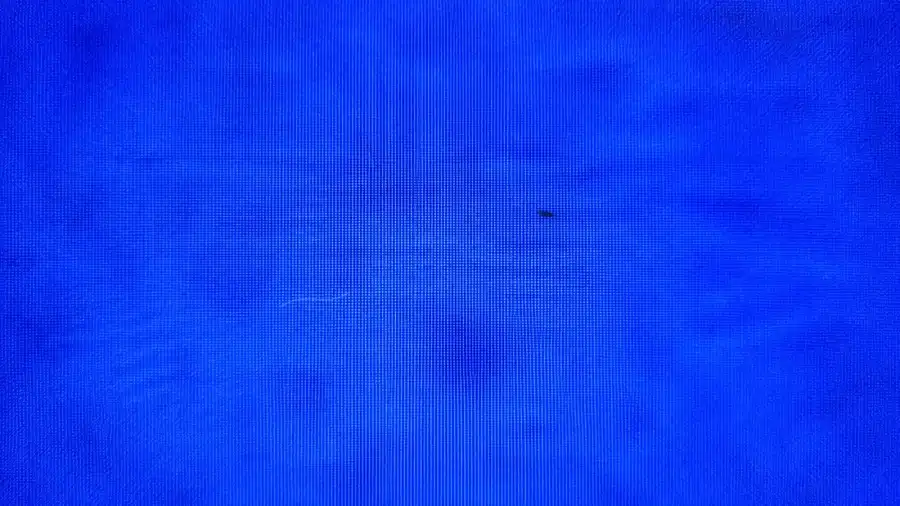
Suspected microplastics can appear as small glowing dots, fibers, or dark marks. Use these views as a reference while reading the filter.
Count theseSuspected particles
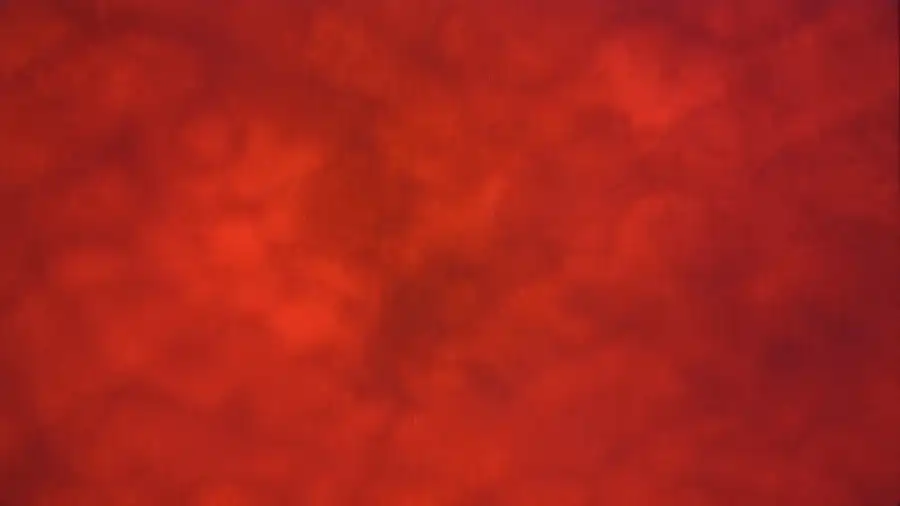
The color varies with the lens and the light: deep red, warm orange, or almost blue. Every view below counts. Each arrow points at one thing to count.
What you're looking at
StringsPotential polyester fibers.
Black marksBlack plastic, carbon, or other dark debris.
Glowing dotsThe suspected microplastic.
A long fiber may be polyester, or it may be cotton or rayon, which aren't plastics, or a clothing fiber that landed from the air while your sample sat open.
Carbon shed by a carbon filter, grit, rust and other debris all look like black specks at 10x, the same as black plastic. Looking at one doesn't tell you which it is. More on this.
Two suspected microplastics near the top left.
A count of six indicated microplastics.
A count of four indicated microplastics.
A count of seven indicated microplastics. A slightly orange tint is normal.
A count of four indicated microplastics. An orange tint is normal.
Over 15 indicated microplastics here. Notice the 3D texture (shadows).
A blue background is also okay. 4 of the 7 particles here have 3D texture. Notice the shadows.
Potentially one polyester fiber, and one black particle — black plastic, carbon, or other dark debris.
This looks like another potential polyester fiber and an indicated microplastic.
A long fiber in a tap water sample.
One long fiber and one indicated microplastic particle.
A count of five indicated microplastics and one small indicated plastic fiber.
This appears to be a count of four indicated microplastics.
Notice the indicated fiber and one black particle (potentially carbon or PEX/plastic).
Not theseNo microplastics
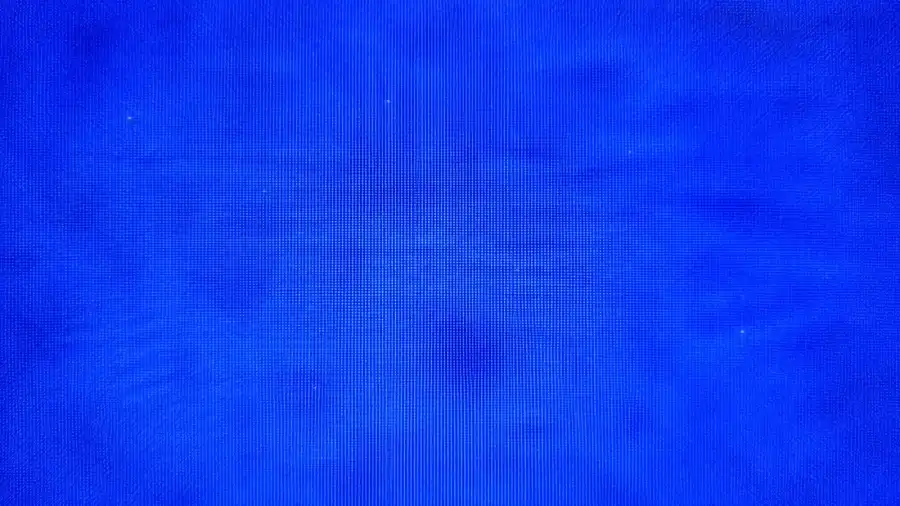
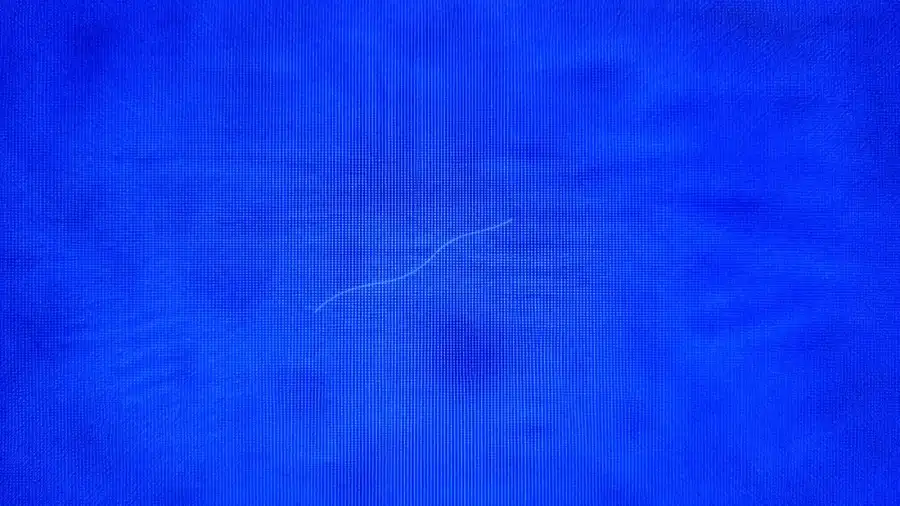
These images do not show any microplastics. An even view with no distinct glowing dots — nothing to count.
An even background with no distinct marks.
No microplastics indicated. Ignore small blotches.
No microplastics indicated. Ignore small blotches.
No microplastics indicated. Ignore small blotches.
No microplastics indicated. Ignore small blotches.
Want to test again?
Each refill covers one more run — keep the microscope, syringe, and filter holder you already have. sold separately.