Watch first3 min
Watch: the digital microscope kit
Your kit includes a digital microscope. Watch this quick walkthrough first, then follow the steps below — the sample prep is the same, only the imaging changes.
Your kit includes a digital microscope. Watch this quick walkthrough first, then follow the steps below — the sample prep is the same, only the imaging changes.
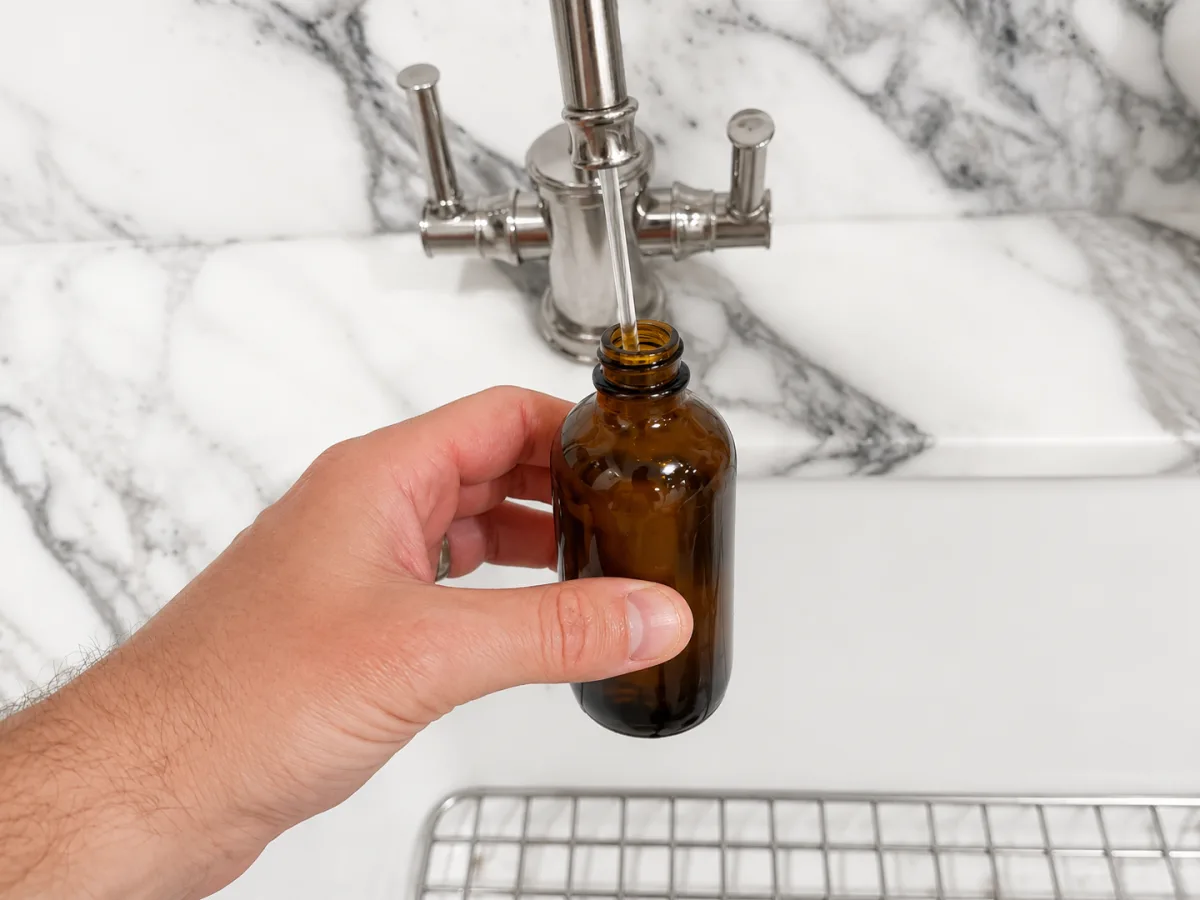
Fill the jar we provided almost to the top with the water you're testing — it holds about 100 mL (3.5 oz). Leave a little room for the 1 mL vial of reagent solution you'll add next. Volume matters: your result is reported per 100 mL.
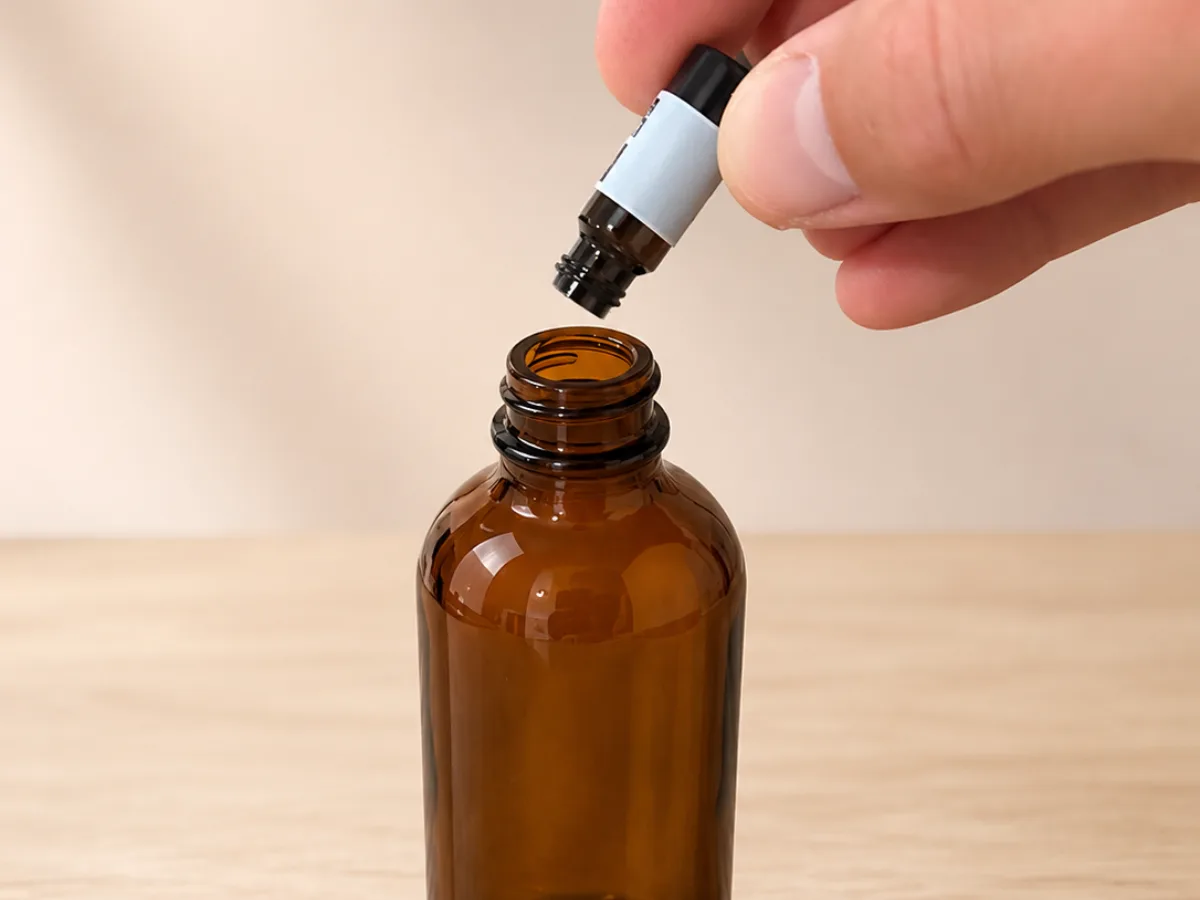
Add the vial, swirl gently, and wait 15–20 minutes. Two vials? Add the first, swirl, wait 15 min — then the second, swirl, wait 15 more.
Cover the jar while you wait — dust from the air can land in an open jar and get counted.
Unscrew the holder, set the round filter membrane inside, and screw it back together.
Open the holder, drop the filter in, twist it shut
Twist the assembled filter holder onto the syringe tip until it's snug.
Twist the holder onto the syringe tip until snug
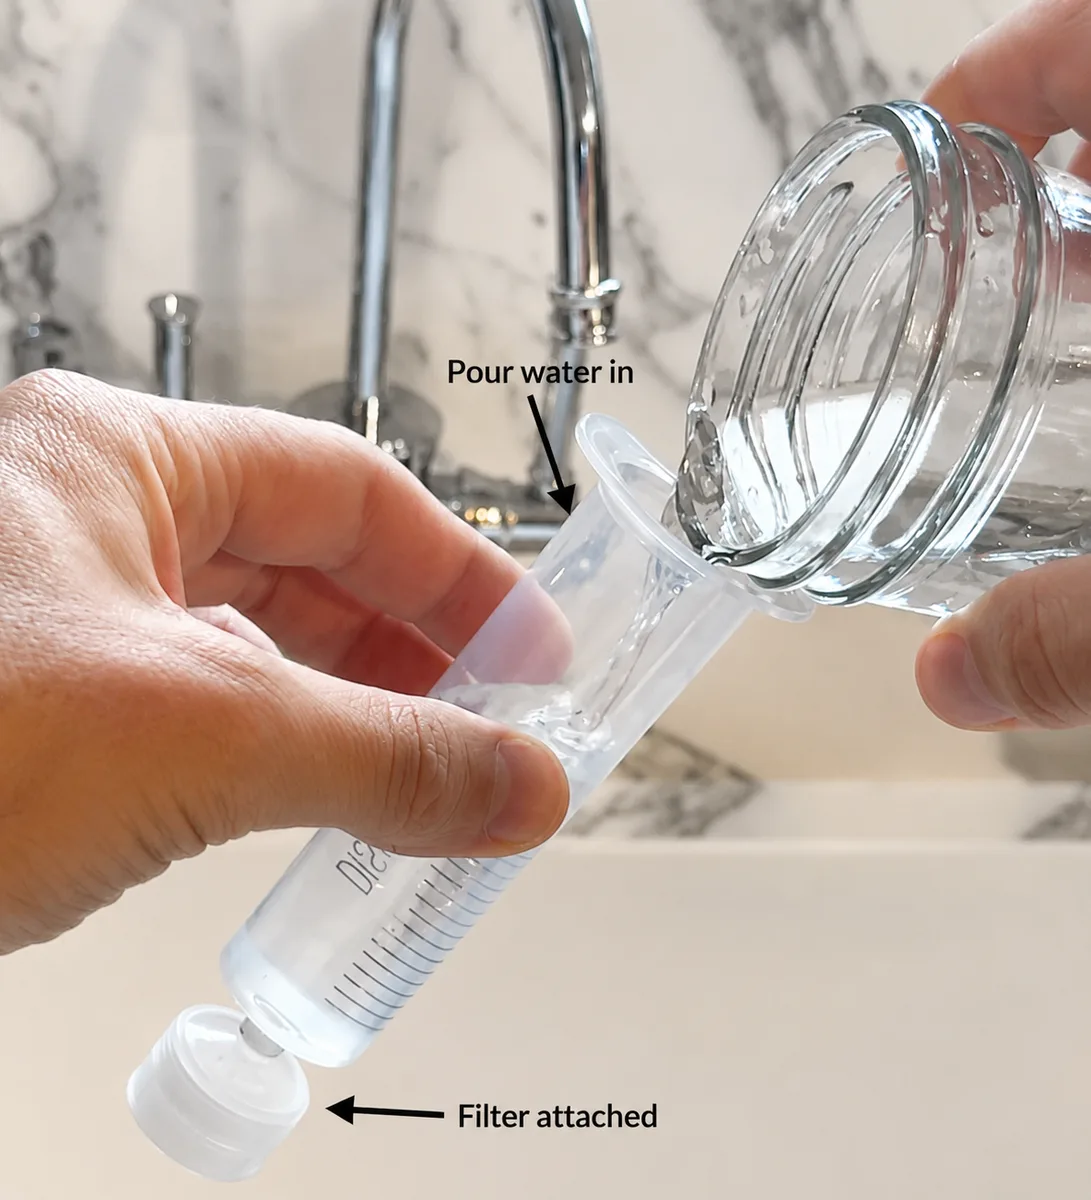
Pour the prepared water into the top of the syringe. It holds 60 mL, so you'll fill and push it about twice.
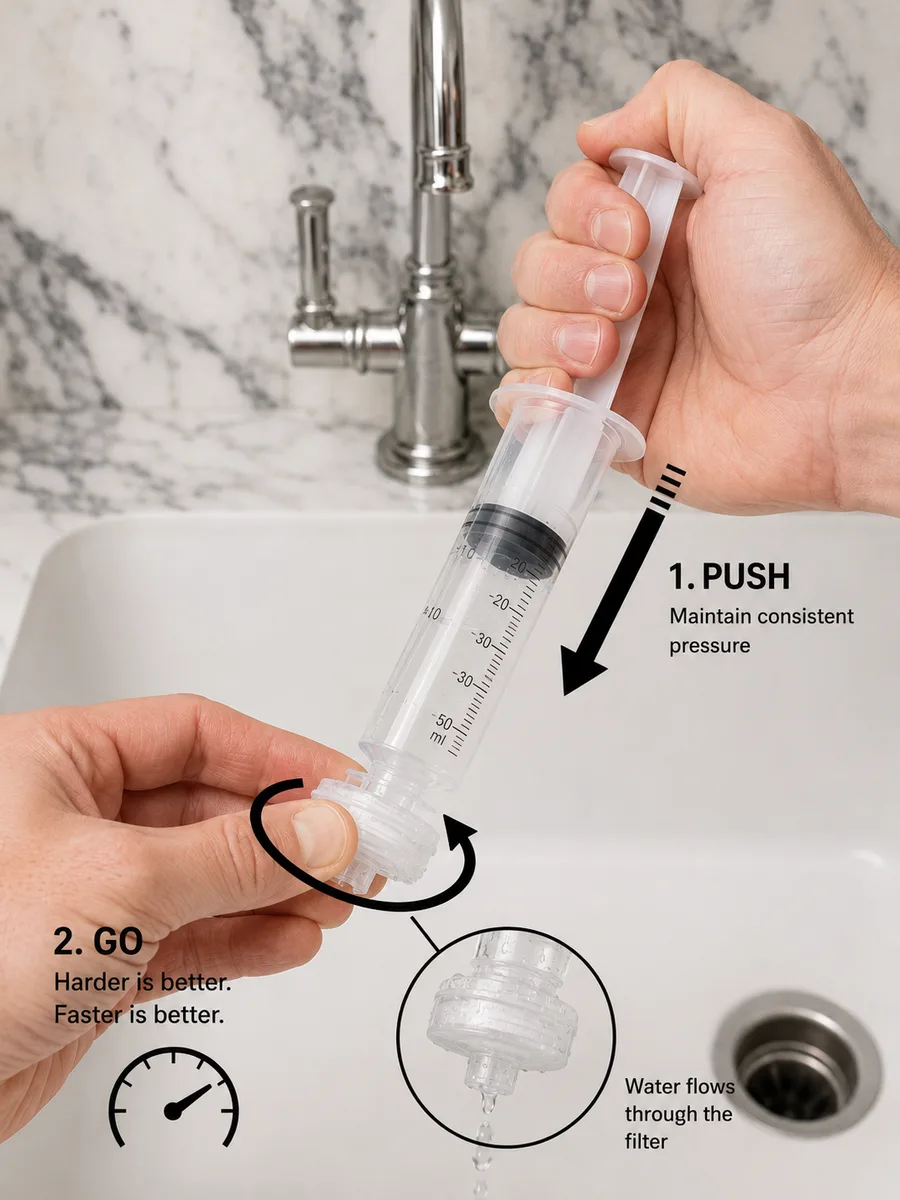
Push the water through right away — don't let it sit. Everything we count is caught on the filter surface.

Unscrew the holder and take out the filter. Keep the side that faced the water pointing up — that's the side we image.
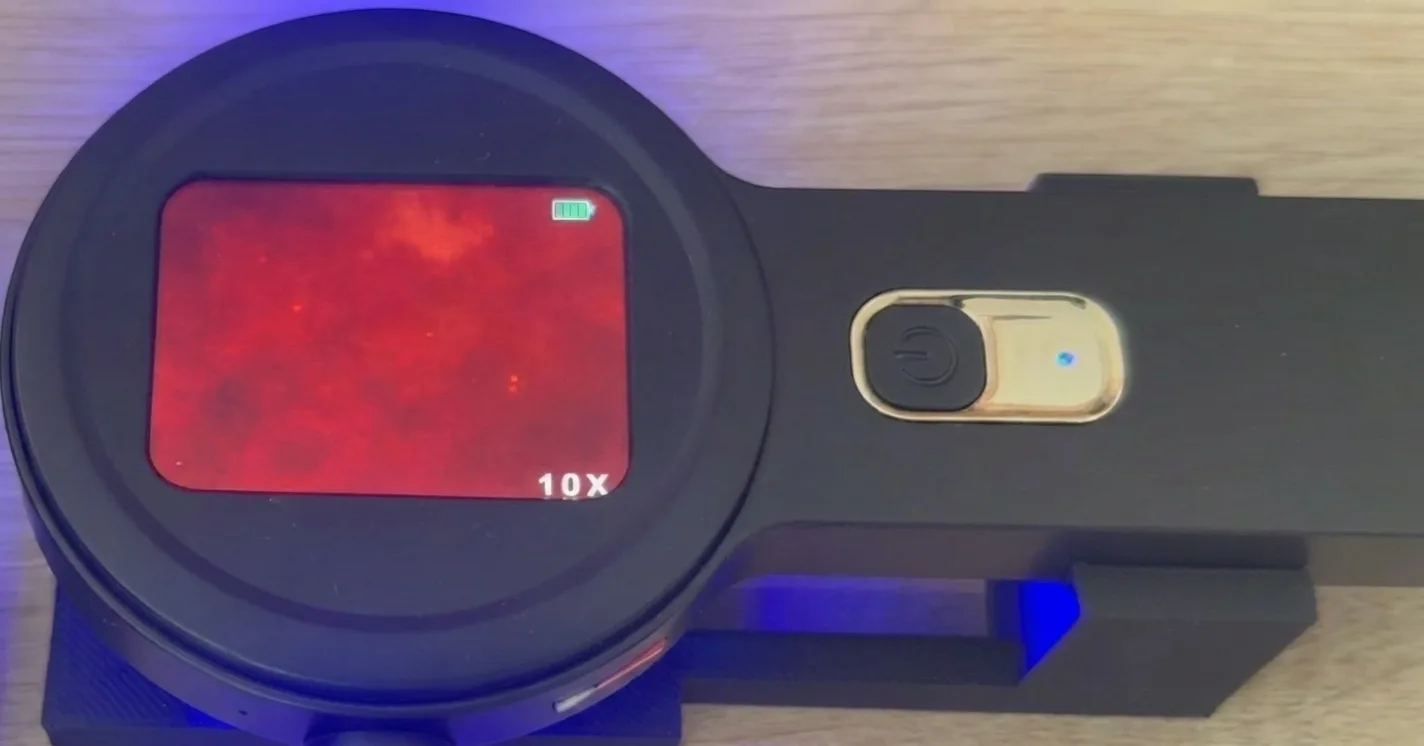
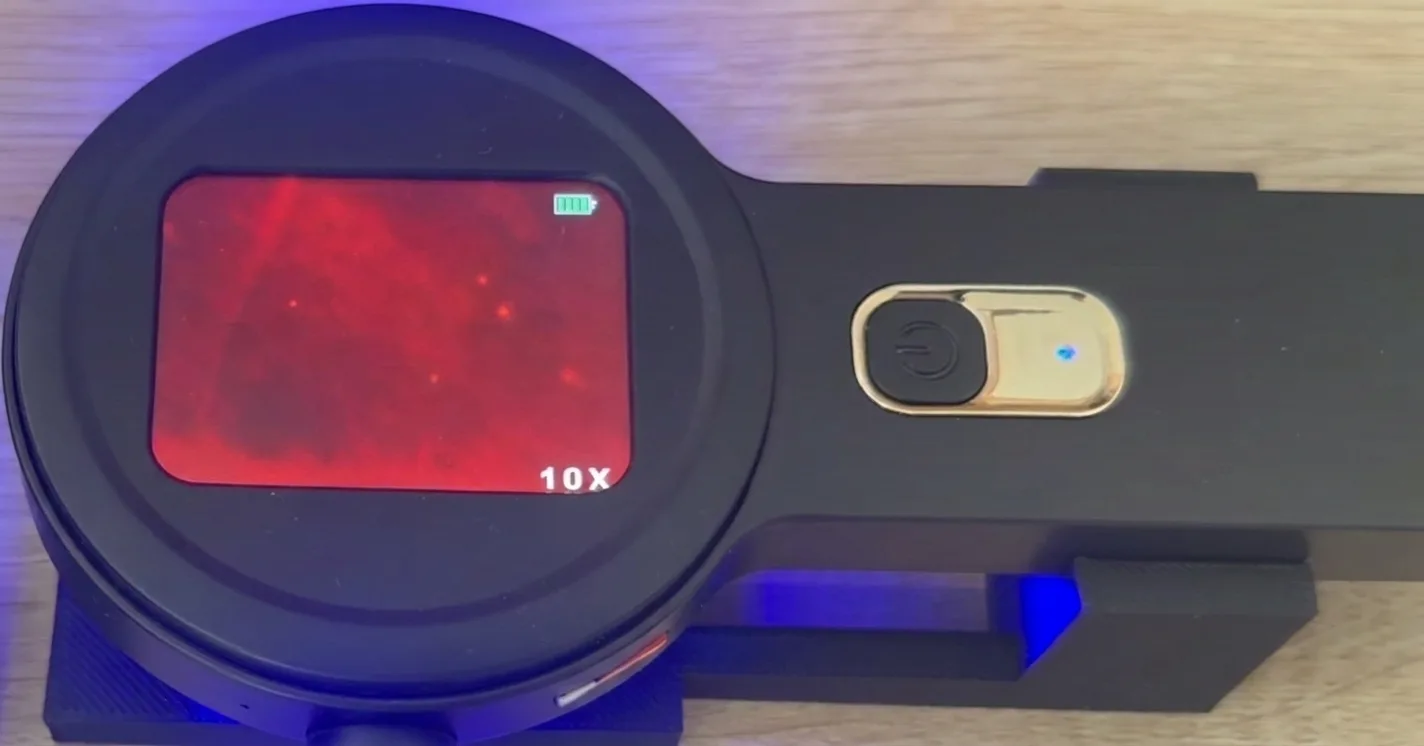
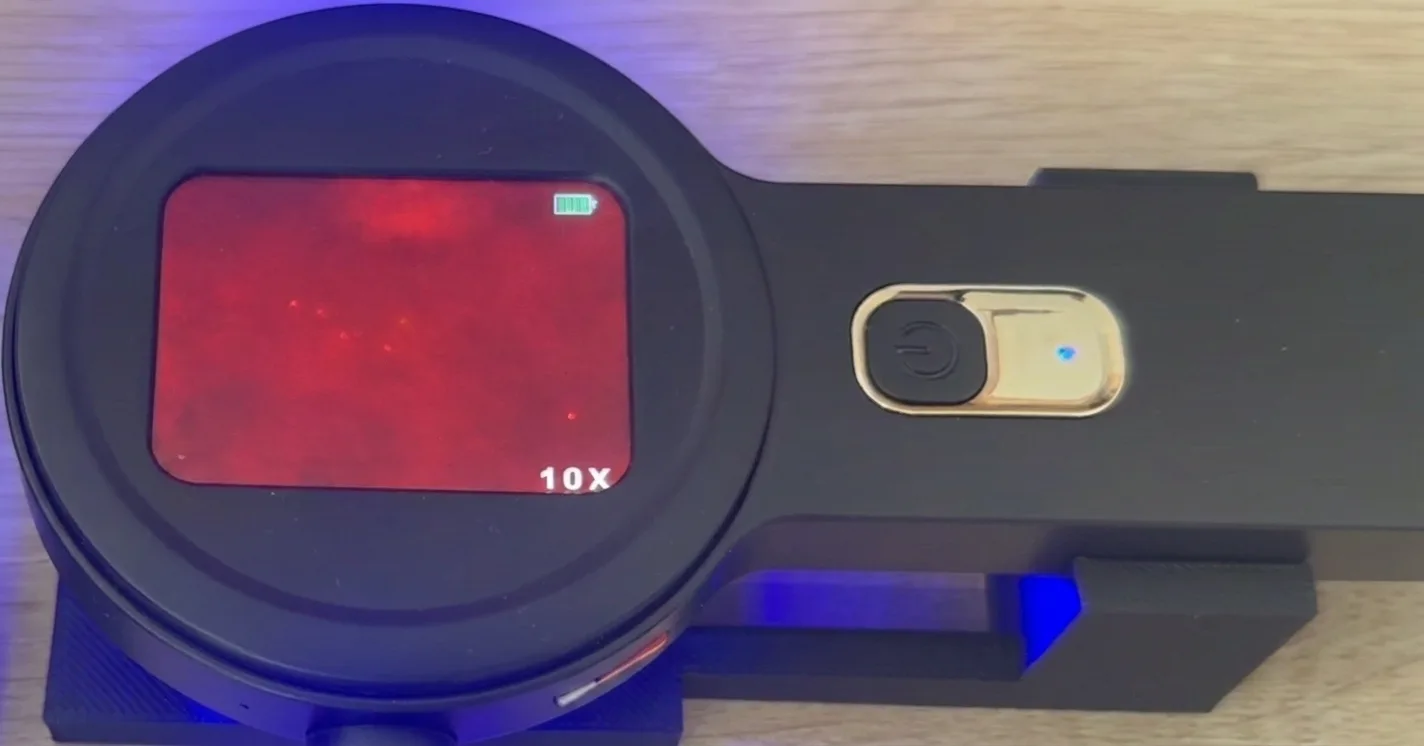
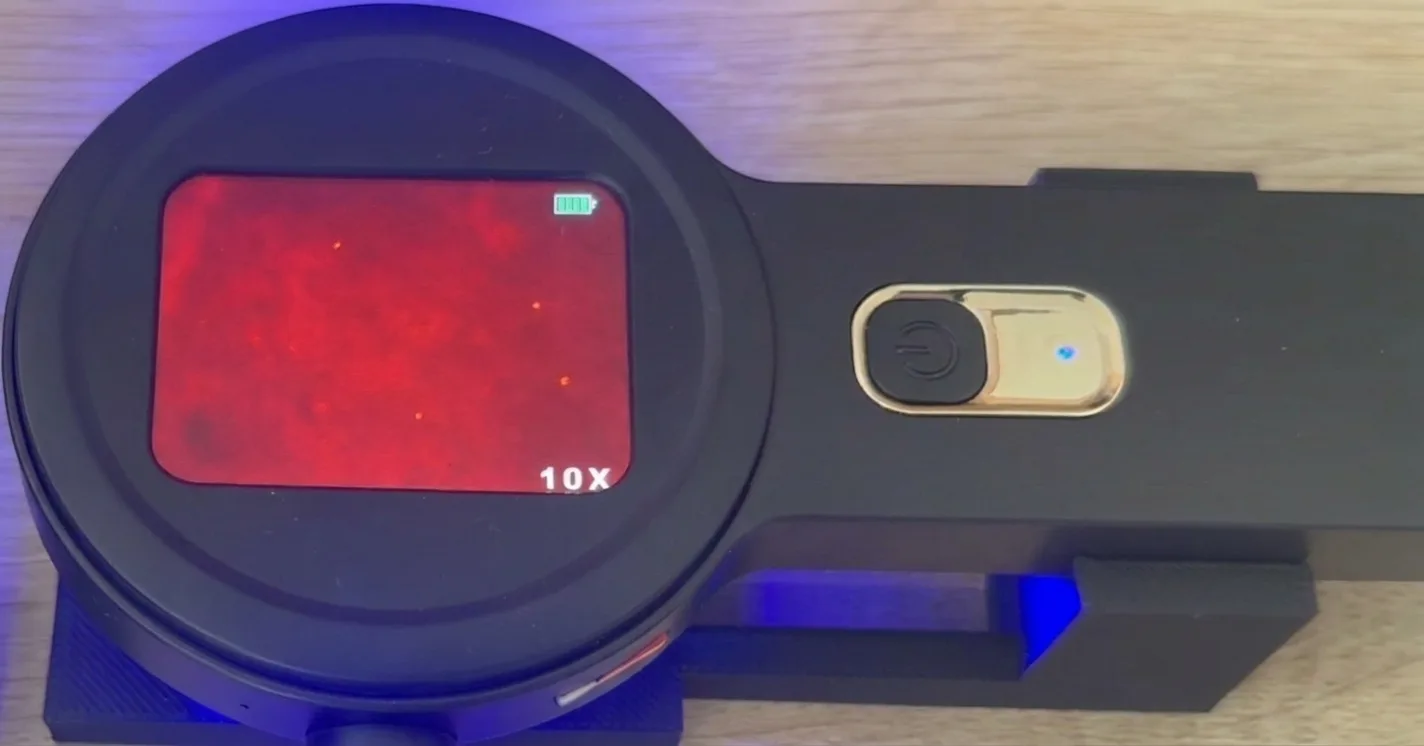
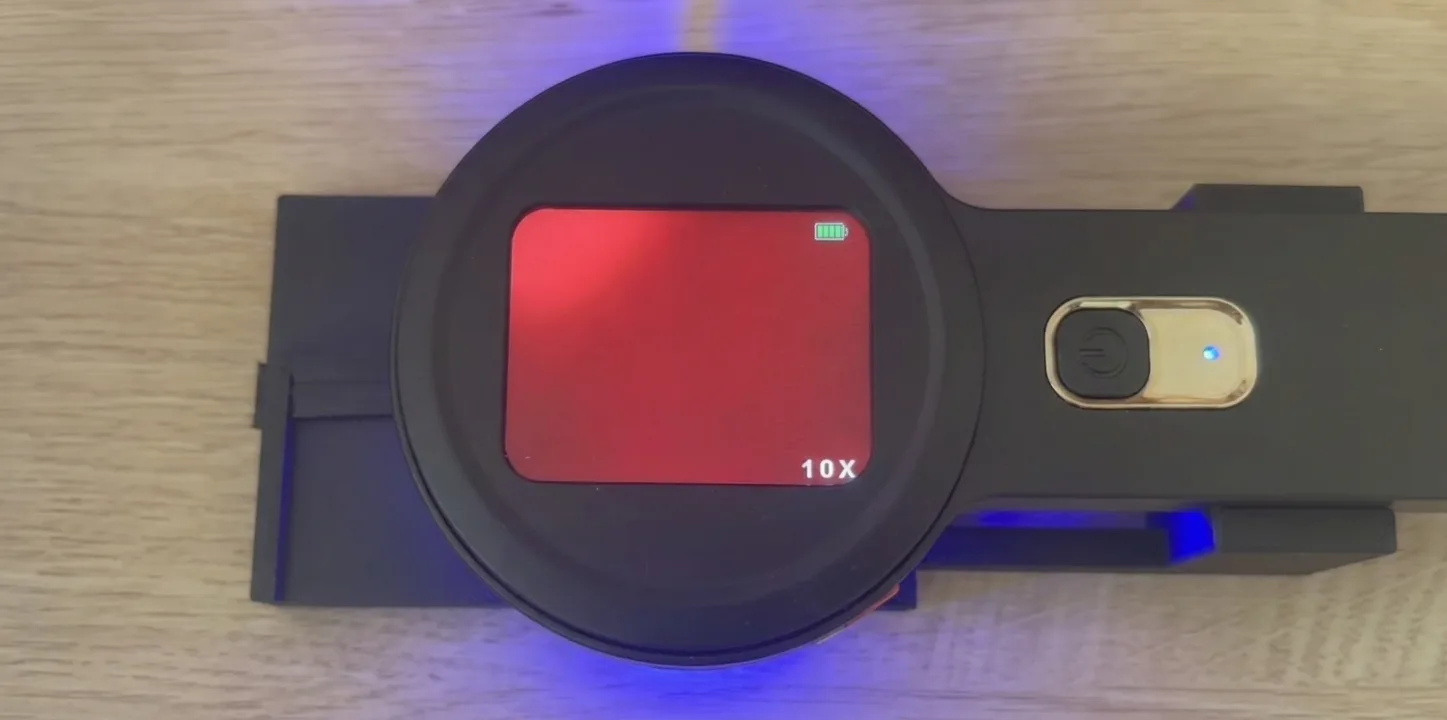
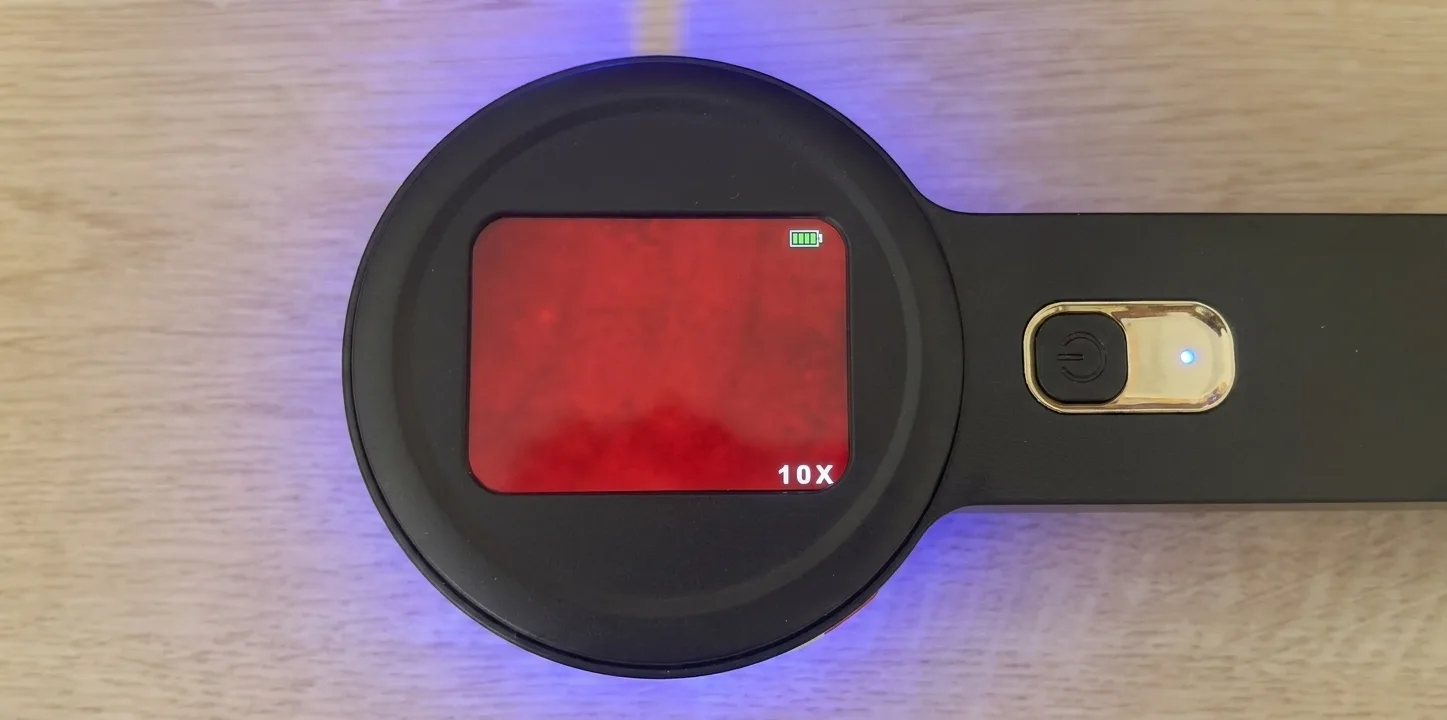
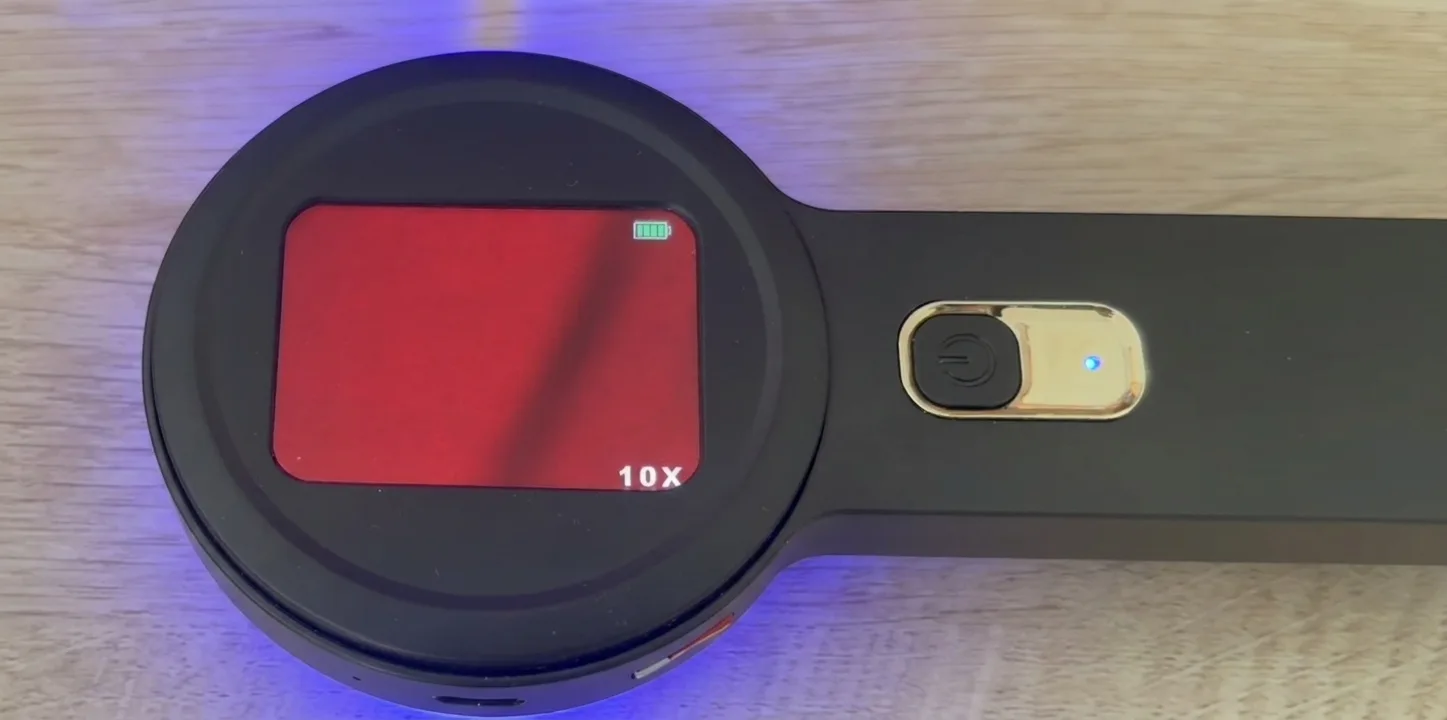
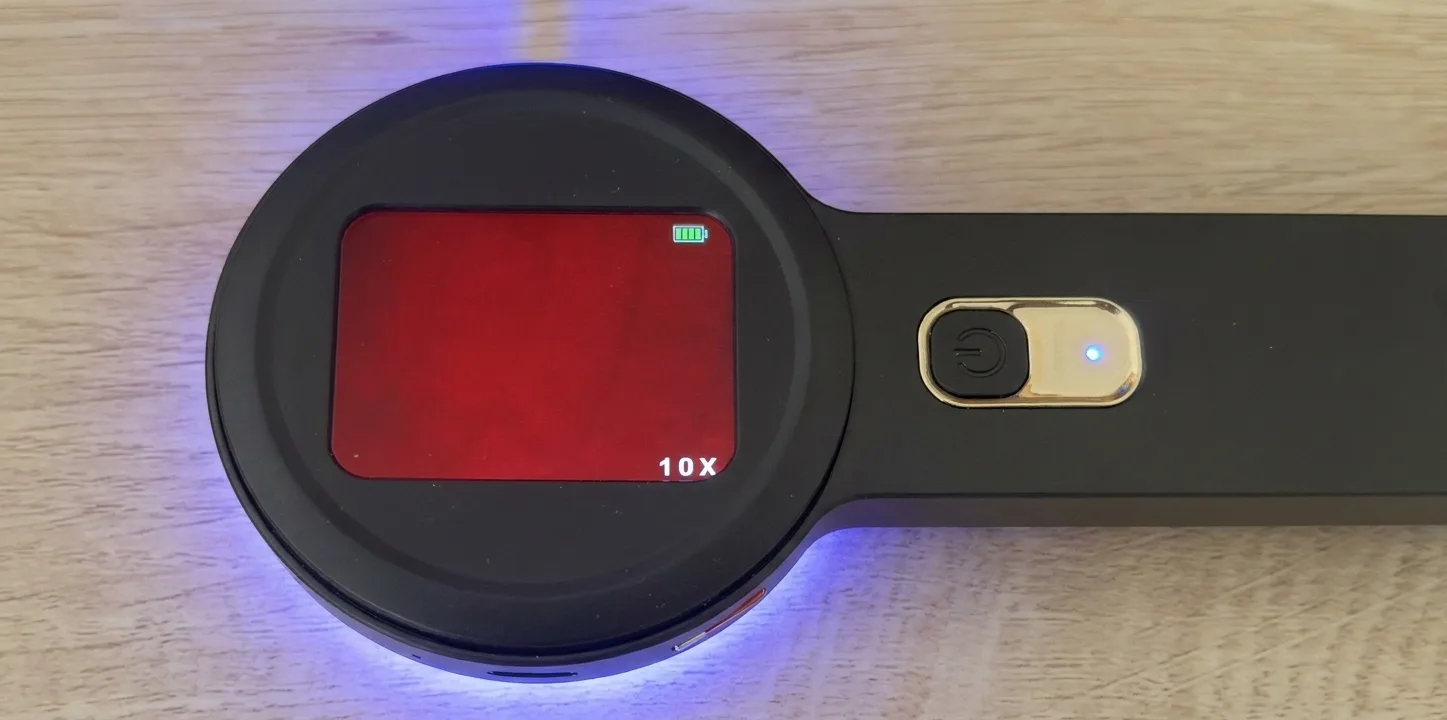
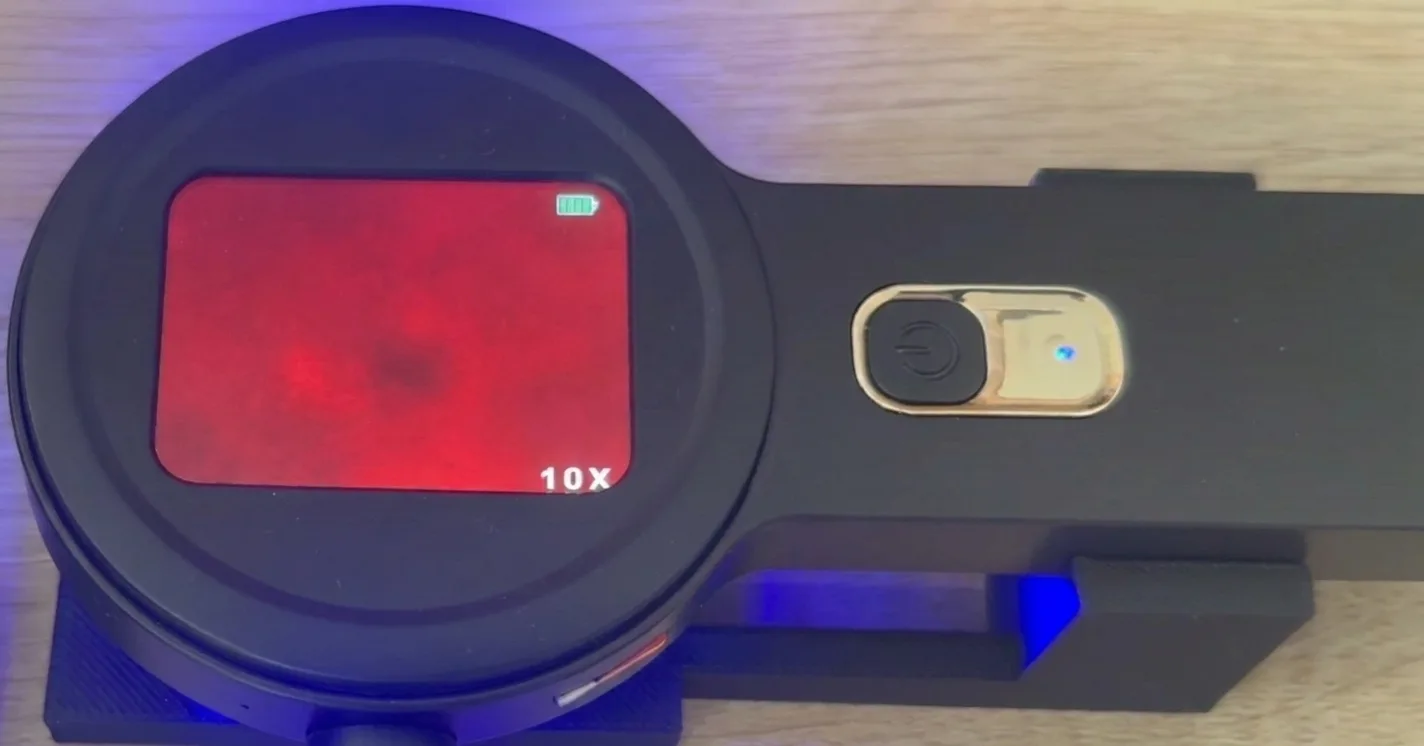
Set the filter on the microscope stage, collection side up, and switch on the light. Slide your phone into the stand so its camera looks straight through the lens, then move it around and focus until the field is sharp. On the red screen, each faint glowing dot is a piece of plastic — that's your result, right there under the lens. Compare against the examples below.
Instructions
Run one water sample at a time. Most of the 30 minutes is just waiting after you add the vial.
Your kit includes a digital microscope. Watch this quick walkthrough first, then follow the steps below — the sample prep is the same, only the imaging changes.
Fill the jar we provided almost to the top with the water you're testing — it holds about 100 mL (3.5 oz). Leave a little room for the 1 mL vial of reagent solution you'll add next. Volume matters: your result is reported per 100 mL.
Add the vial, swirl gently, and wait 15–20 minutes. Two vials? Add the first, swirl, wait 15 min — then the second, swirl, wait 15 more.
Cover the jar while you wait — dust from the air can land in an open jar and get counted.
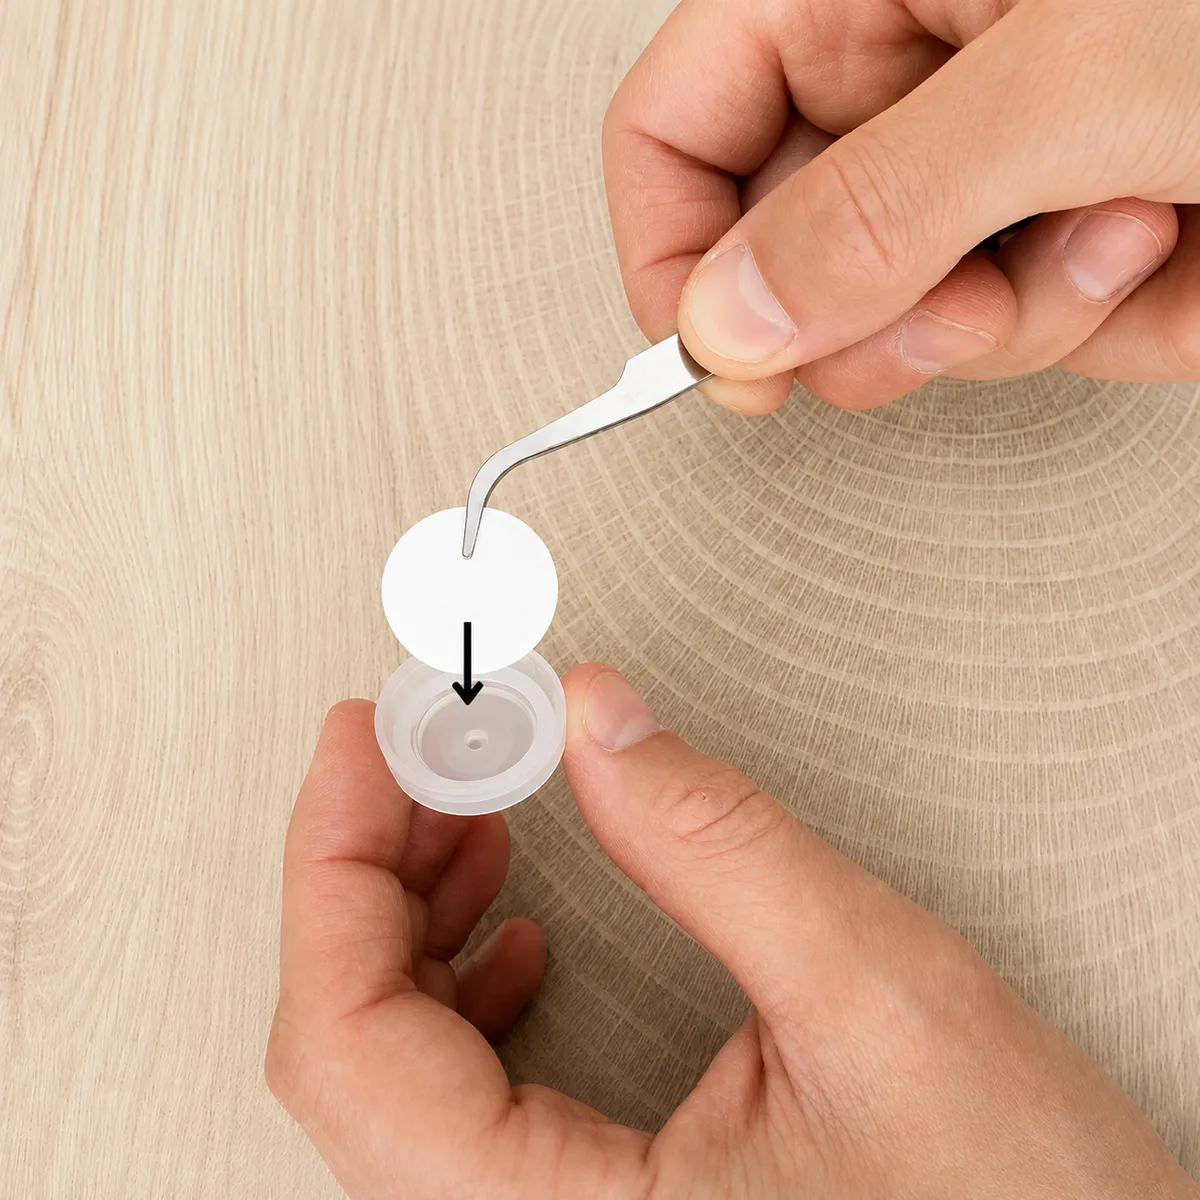
Unscrew the holder, set the round filter membrane inside, and screw it back together.
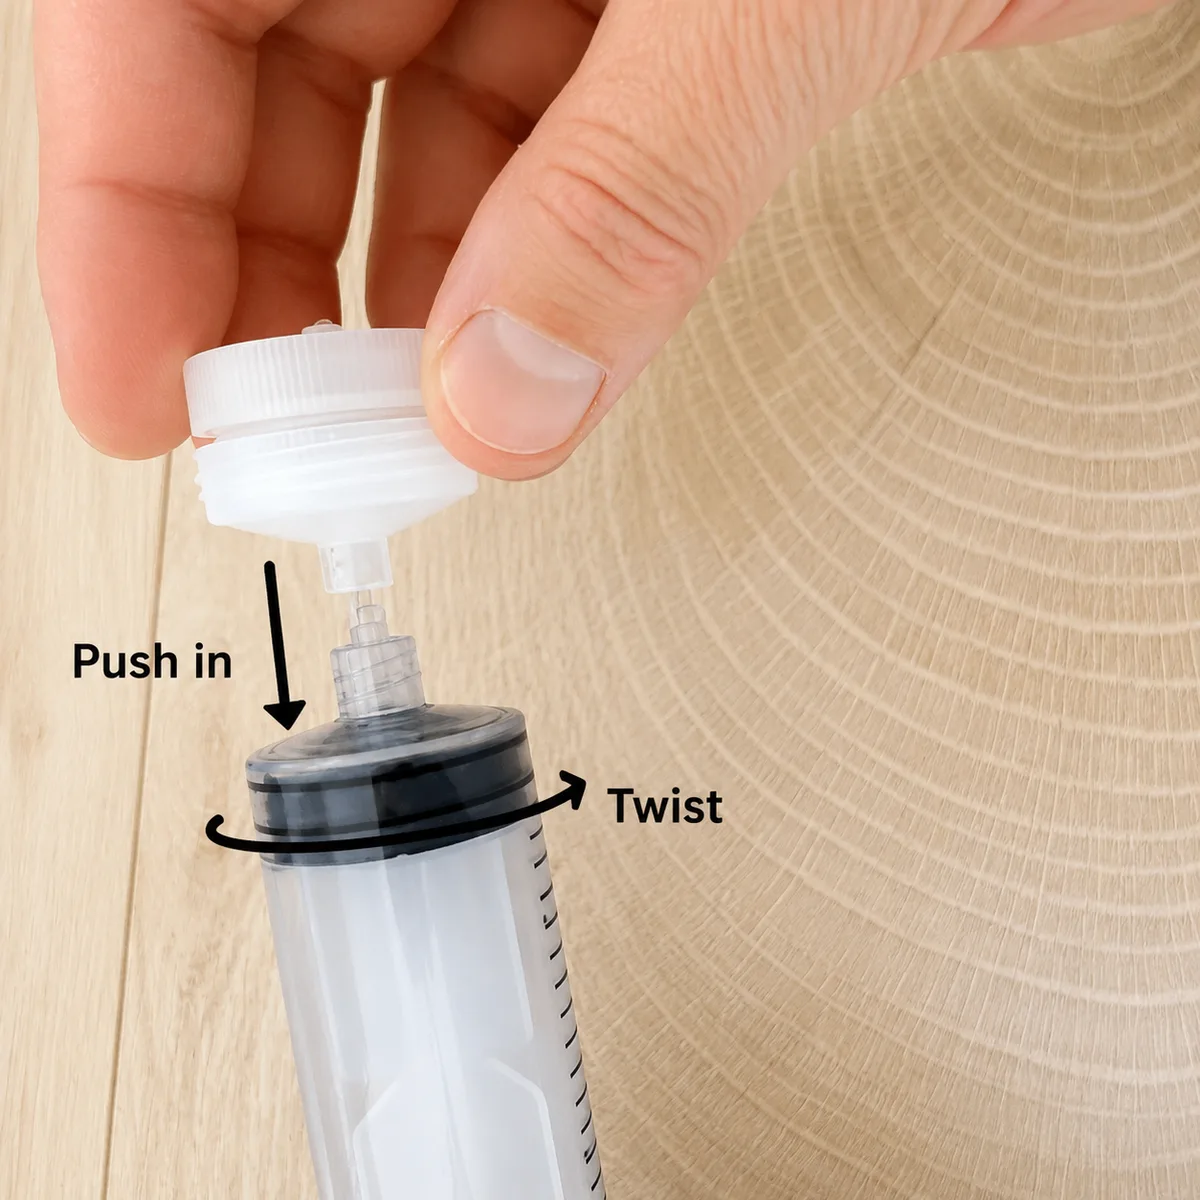
Twist the assembled filter holder onto the syringe tip until it's snug.
Pour the prepared water into the top of the syringe. It holds 60 mL, so you'll fill and push it about twice.
Push the water through right away — don't let it sit. Everything we count is caught on the filter surface.
Unscrew the holder and take out the filter. Keep the side that faced the water pointing up — that's the side we image.
Set the filter on the microscope stage, collection side up, and switch on the light. Slide your phone into the stand so its camera looks straight through the lens, then move it around and focus until the field is sharp. On the red screen, each faint glowing dot is a piece of plastic — that's your result, right there under the lens. Compare against the examples below.
Both of these make a sample with plastic in it look clean. If your screen suddenly shows nothing, check these before you trust the result.
By far the most common reason a real sample reads as clean: the 25 mm filter disc is curled. If it curls or buckles, the light hits it unevenly and you get dark patches that look like nothing's there — that's shadow, not a clean filter. Handle it with the tweezers — that's what they're really for, keeping it flat matters more than contamination — and get it lying completely flat before you image.
Trick: dab it with a paper towel to a slightly damp state. A little moisture makes the disc stick flat to the surface; bone-dry, it tends to curl.
The flashlight sits in a fixed position, so aiming isn't the problem — the batteries are. Below about 50–70% charge, the blue light stops exciting the dye and nothing glows, even with plastic on the filter. If particles were showing a moment ago and then vanished, swap or recharge the batteries before you assume the sample is clean.
A real 100 mL sample of bottled water, start to finish: add the dye, check the blank filter, push the water through, and count what glows. Note the blank check around 0:40 — look at the filter before any water runs through it, count anything already glowing, and subtract that from your final number.
Have two tests? Run one on unfiltered tap water and one after your filter.
Wash the jar thoroughly. Don't drink from it.
You read the result yourself under the lens. On the red screen, each microplastic particle shows up as a small, faint glowing dot — often subtle, sometimes easy to miss. A clean sample is an even red field with no distinct dots. Use these as a reference, then count the dots you see.


The Refill 4-pack covers 4 more runs — keep the microscope, syringe, and filter holder you already have. $28.
Stuck on a step? Use the chat in the bottom-right corner — we reply fast.
Don't have a kit yet? The microplastics test kit is $75. Tests are sold separately.