Step 11 min
Collect 100 mL of water
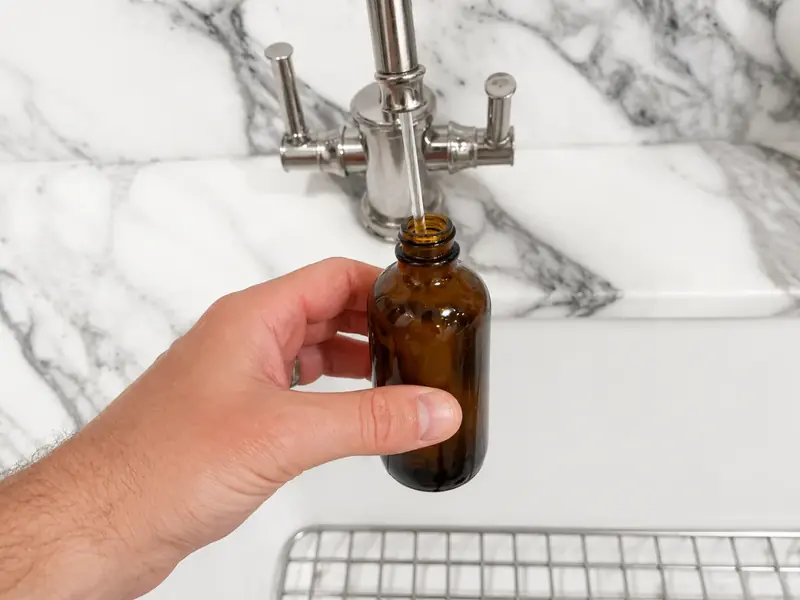
Fill the jar almost to the top with the water you're testing. It holds about 100 mL (3.5 oz). Leave room for the 1 mL vial you add next. Results are reported per 100 mL, so use the full jar.
Fill the jar almost to the top with the water you're testing. It holds about 100 mL (3.5 oz). Leave room for the 1 mL vial you add next. Results are reported per 100 mL, so use the full jar.
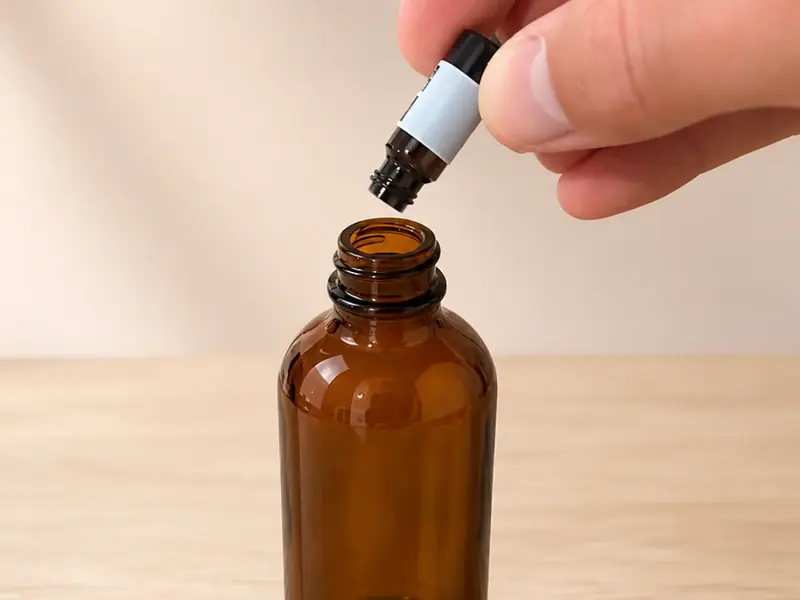
Add the vial, swirl gently, and wait 15–20 minutes. Longer is better; the dye needs time to bind.
Cover the jar while you wait. Dust from the air lands in an open jar and gets counted.
Open the holder, drop the filter in, twist it shut
Unscrew the holder, set the round filter membrane inside, and screw it back together.
Twist the holder onto the syringe tip until snug
Twist the assembled filter holder onto the syringe tip until it's snug.
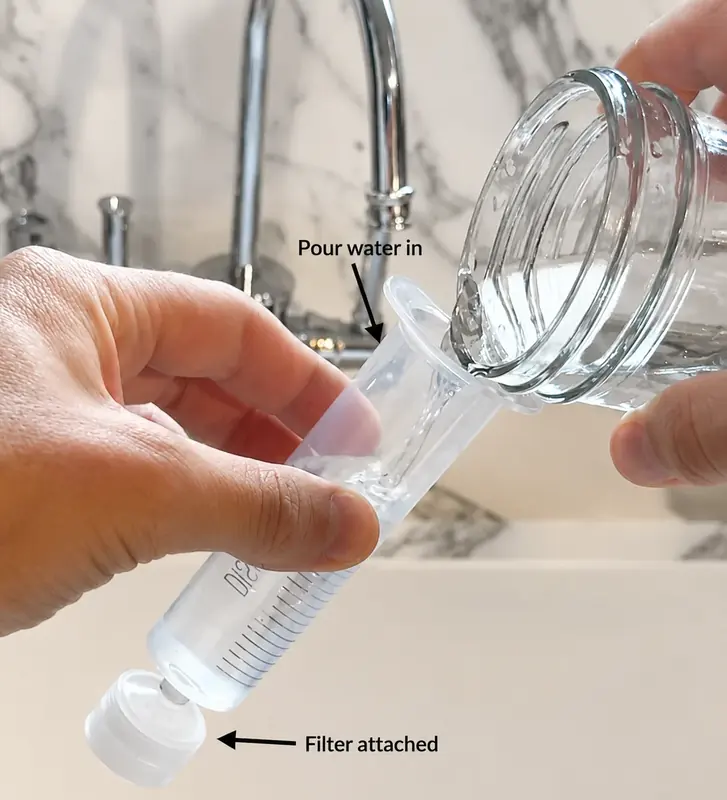
Pour the prepared water into the top of the syringe.
If you have a 60 mL syringe, fill and push it roughly twice. If you have a 100 mL syringe, fill and push it once. Either way, keep going until the jar is empty so the full 100 mL sample passes through the same filter.
Unscrew the filter holder before you pull the plunger back for the second fill. Pulling against the filter can damage it.
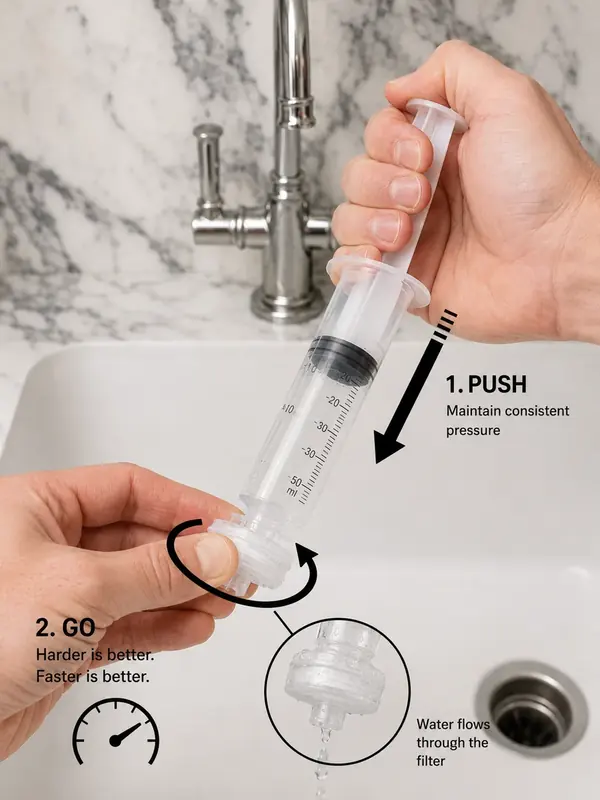
Push the water through right away; don't let it sit.
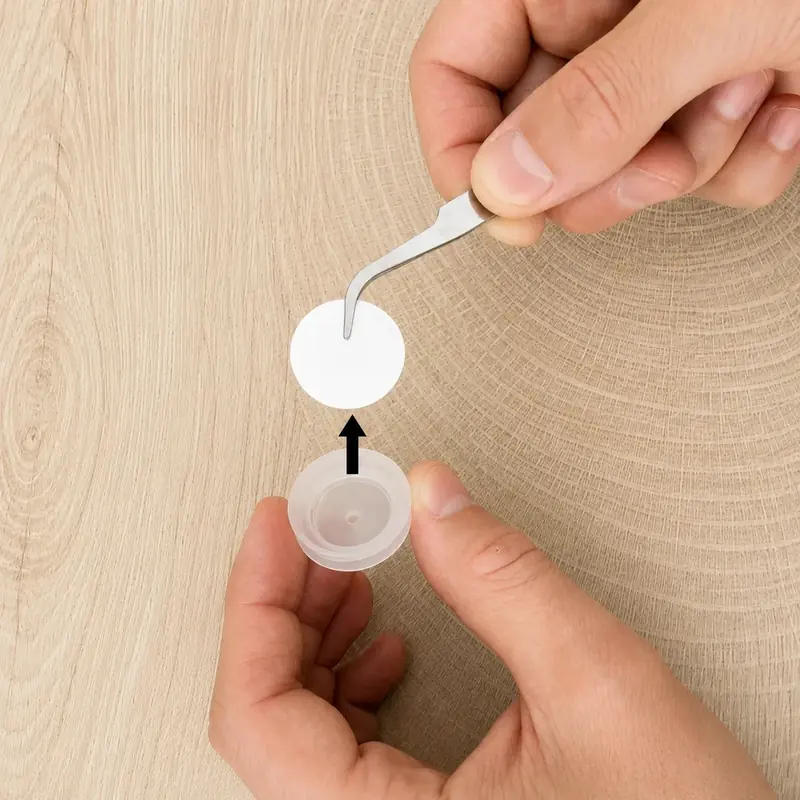
Unscrew the holder and take out the filter. Keep the side that faced the water pointing up. That's the side you read.
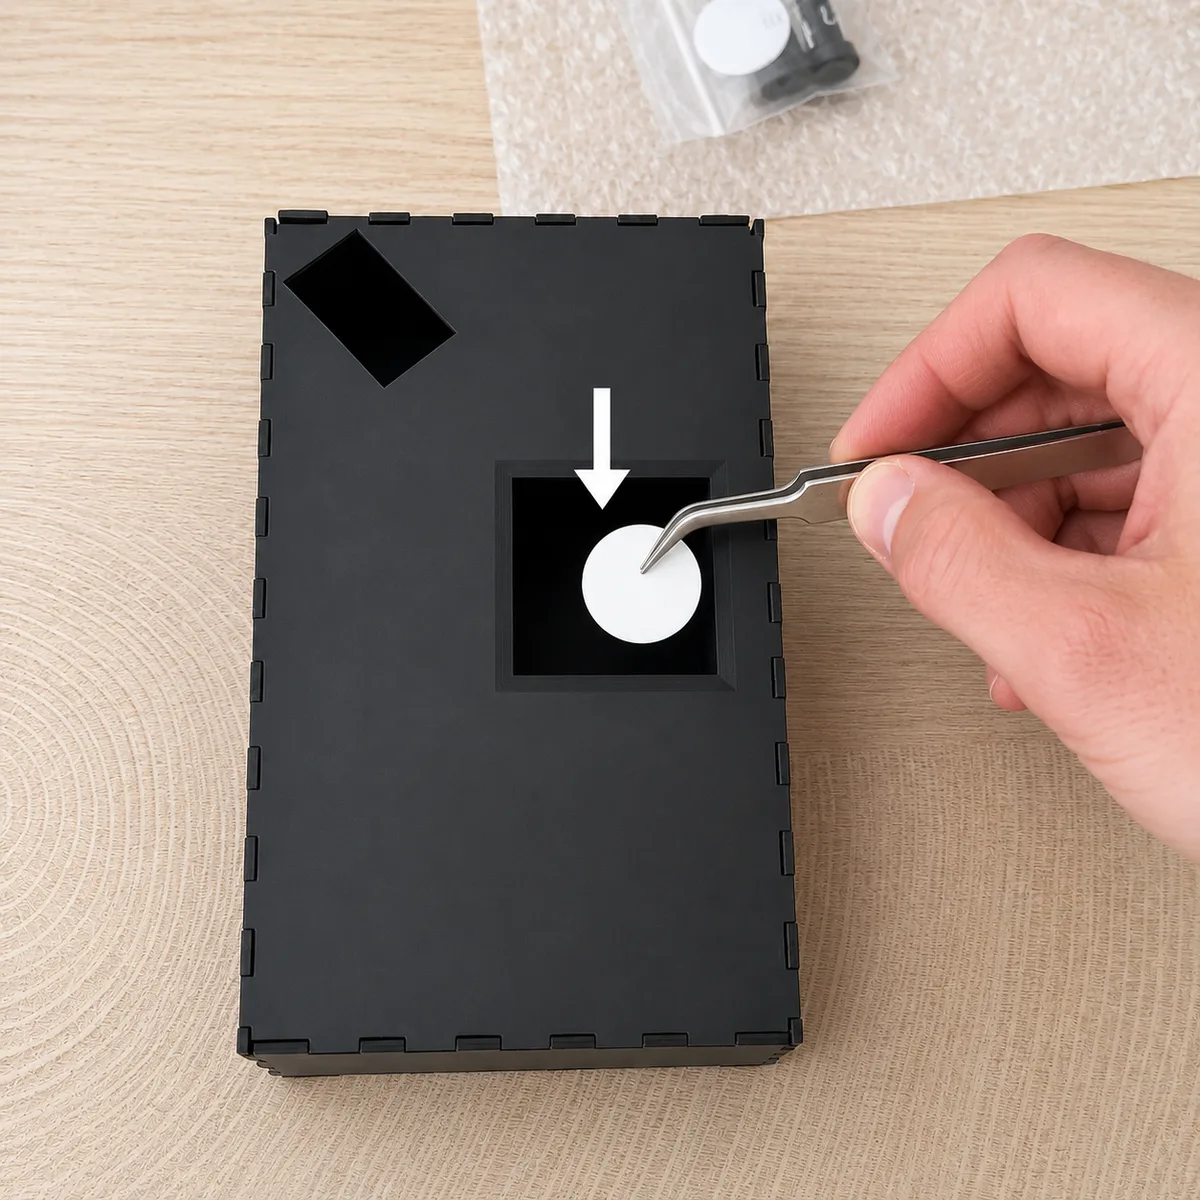
Place the filter inside the imaging box, collection side up.
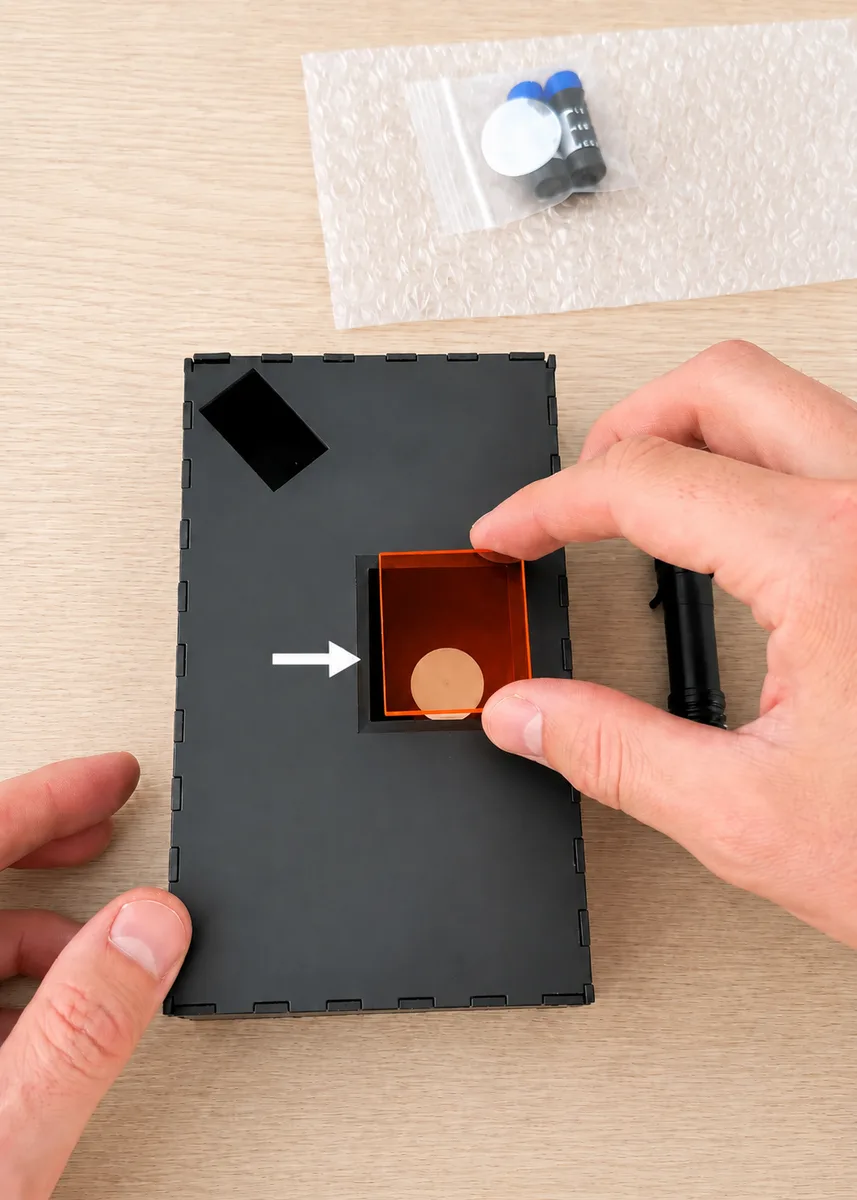
Set the glass on the box lid — it rests in the square indentation.
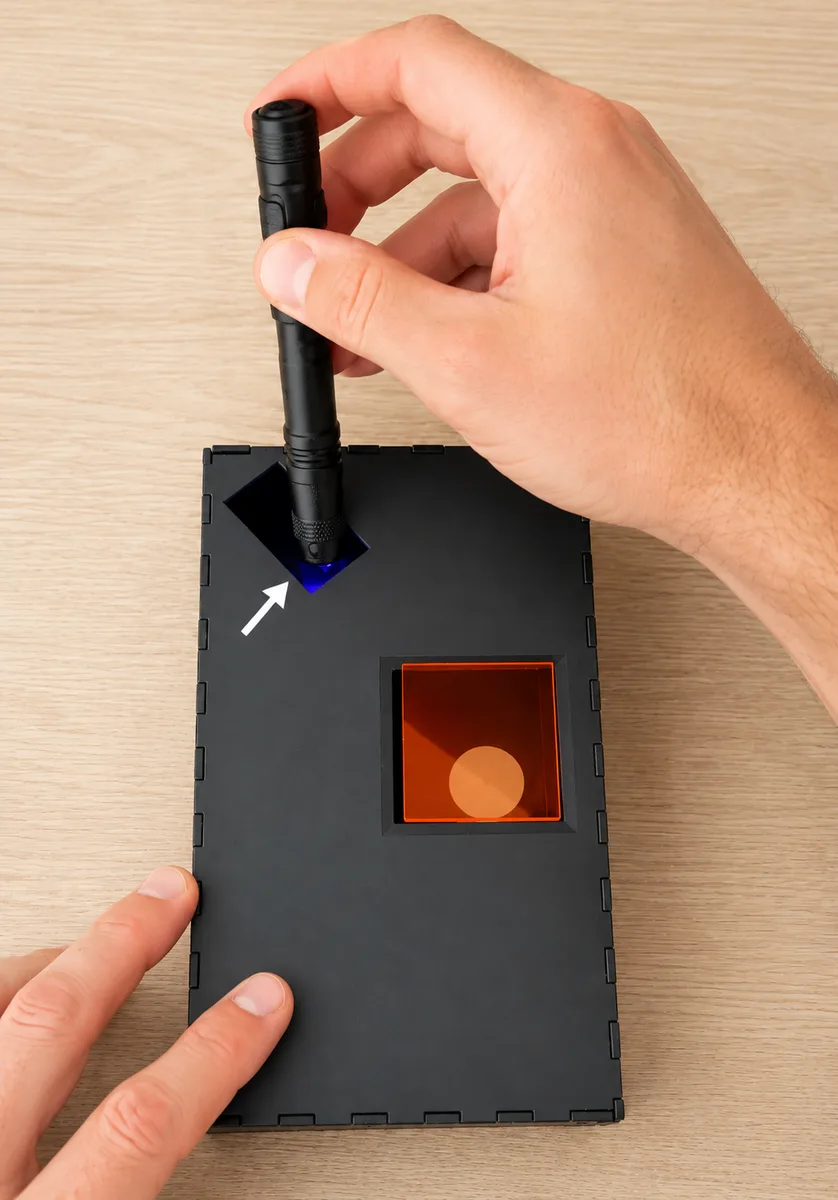
Slide the flashlight into the rectangular hole on the top-left of the box.
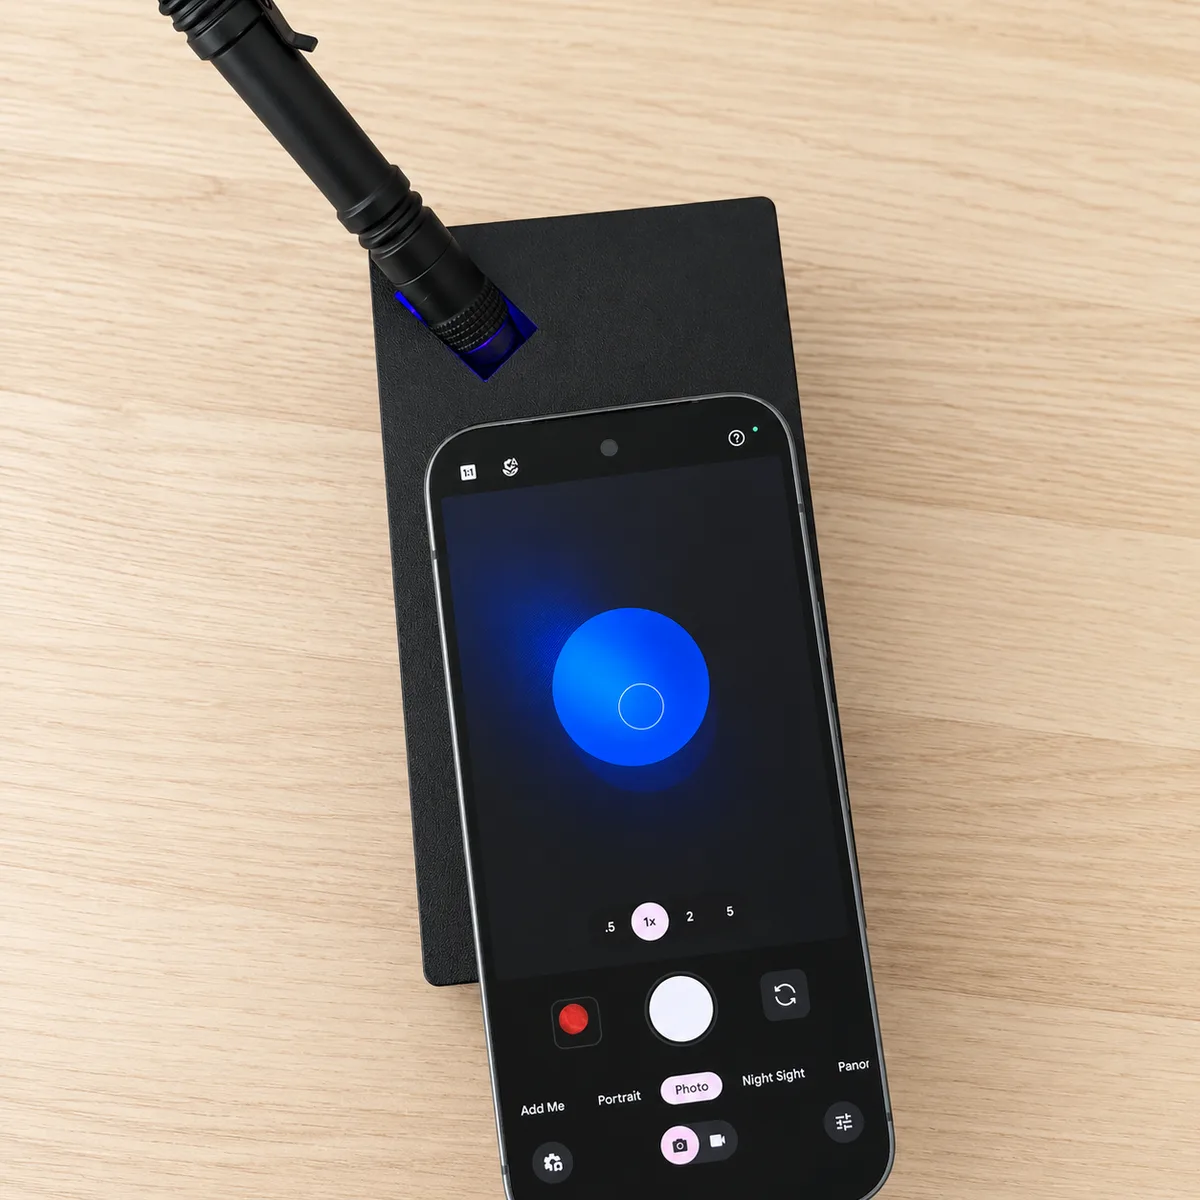
Open your camera app, rest the phone flat on the box with the lens over the glass, tap the glowing filter to focus, then shoot.
Turn on Night Sight. No exceptions.
Without it, the camera won't pick up the glow and your count will be useless. Takes 5 seconds.
Upload the photo you just took. Our particle counter reads it on the spot — your microplastic count appears right here, and a verified report follows by email within 24 hours.
Instructions
One sample at a time. Most of the 30 minutes is waiting after you add the vial.
Fill the jar almost to the top with the water you're testing. It holds about 100 mL (3.5 oz). Leave room for the 1 mL vial you add next. Results are reported per 100 mL, so use the full jar.
Add the vial, swirl gently, and wait 15–20 minutes. Longer is better; the dye needs time to bind.
Cover the jar while you wait. Dust from the air lands in an open jar and gets counted.
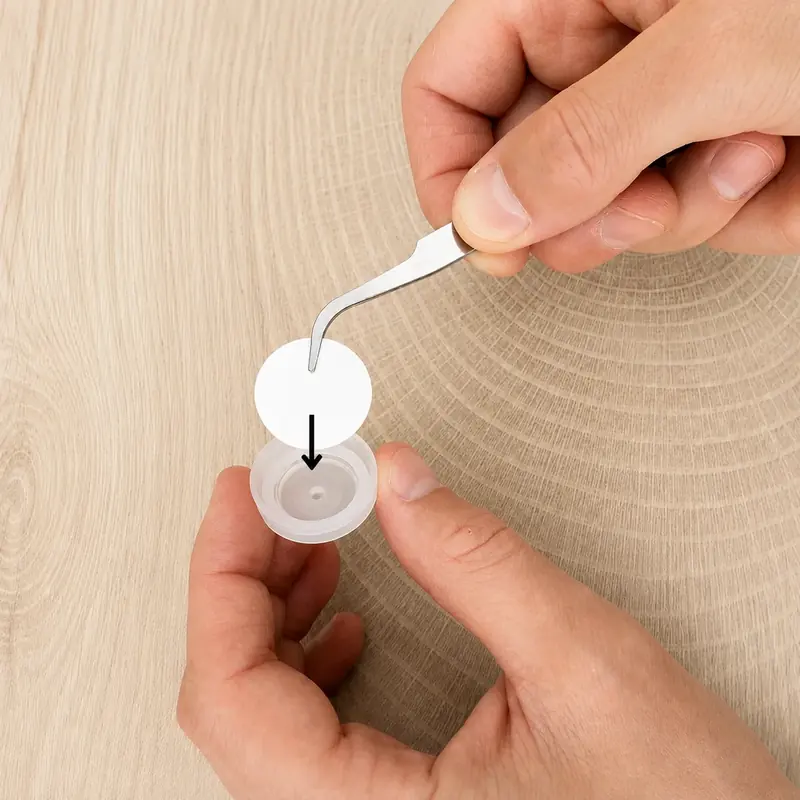
Unscrew the holder, set the round filter membrane inside, and screw it back together.
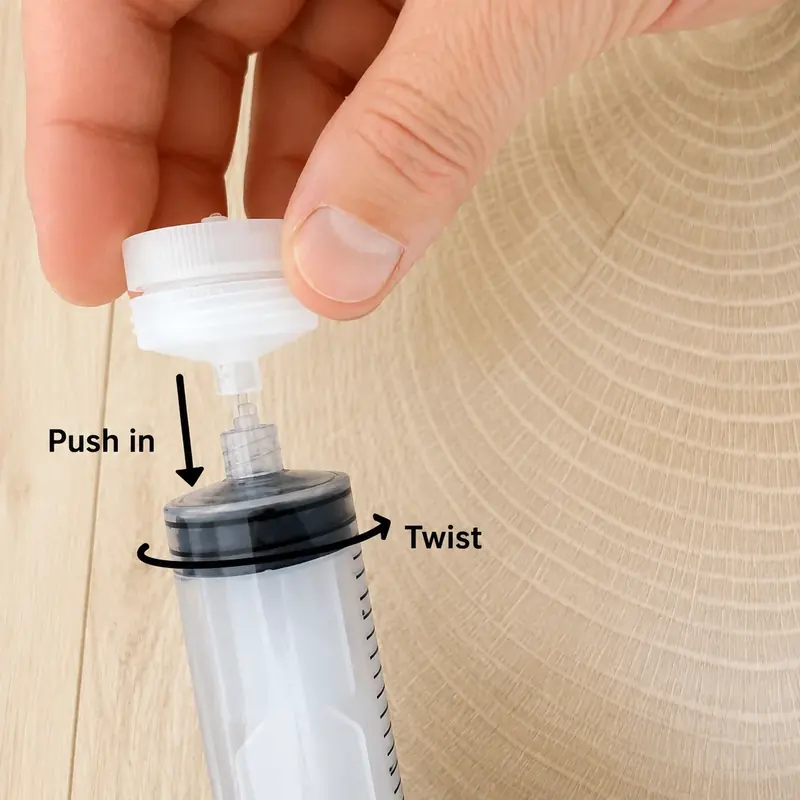
Twist the assembled filter holder onto the syringe tip until it's snug.
Pour the prepared water into the top of the syringe.
If you have a 60 mL syringe, fill and push it roughly twice. If you have a 100 mL syringe, fill and push it once. Either way, keep going until the jar is empty so the full 100 mL sample passes through the same filter.
Unscrew the filter holder before you pull the plunger back for the second fill. Pulling against the filter can damage it.
Push the water through right away; don't let it sit.
Unscrew the holder and take out the filter. Keep the side that faced the water pointing up. That's the side you read.
Place the filter inside the imaging box, collection side up.
Set the glass on the box lid — it rests in the square indentation.
Slide the flashlight into the rectangular hole on the top-left of the box.
Open your camera app, rest the phone flat on the box with the lens over the glass, tap the glowing filter to focus, then shoot.
🌙 Turn on Night Sight. No exceptions.
Without it, the camera won't pick up the glow and your count will be useless. Takes 5 seconds.
Upload the photo you just took. Our particle counter reads it on the spot — your microplastic count appears right here, and a verified report follows by email within 24 hours.
These details can make particles harder to see. If the screen looks unusual, check both before reading the result.
If the 25 mm filter disc curls or buckles, the light can hit it unevenly and create darker areas. Handle it with the tweezers and try to keep it very flat while you read it.
Dab it with a paper towel until slightly damp. Damp makes the disc stick flat; bone-dry, it curls.
The flashlight is fixed in place, so aiming isn't the problem — the batteries are. Below about 50–70% charge the blue light stops exciting the dye and nothing glows, even with plastic on the filter. You won't see it happen: a half-dead cell still throws a beam that looks bright. If the kit was finding particles and then stopped, put in fresh batteries before you trust a clean result.
The box blocks room light and lines up the filter, flashlight, and camera. Particles that took up the stain glow under the blue light — those are the ones we count as likely microplastics.
Once the box is set up, the app walks you through capturing and counting the particles.
Have two tests? Run one on unfiltered tap water and one after your filter.
Wash the jar thoroughly. Don't drink from it.
Each refill covers one more run — keep the blue light, syringe, glass slide, and imaging box you already have. sold separately.
Stuck on a step? Use the chat in the bottom-right corner.
Don't have a kit yet? The microplastics test kit is available to order online. Tests are sold separately.